1988 Samurai Build in Utah, USA
-
donkeychomp
- I spend far too much time on here

- Posts: 3583
- Joined: Thu Aug 18, 2011 3:49 pm
- Location: Shepperton, Middx
Re: 1988 Samurai Build in Utah, USA
Looking good...gotta love friends like that!
If it ticks over...leave it
-
UT410
- Got muddy boots

- Posts: 25
- Joined: Tue Jan 28, 2014 9:51 pm
- Location: Salt Lake City, Utah USA
- Contact:
Re: 1988 Samurai Build in Utah, USA

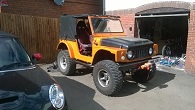
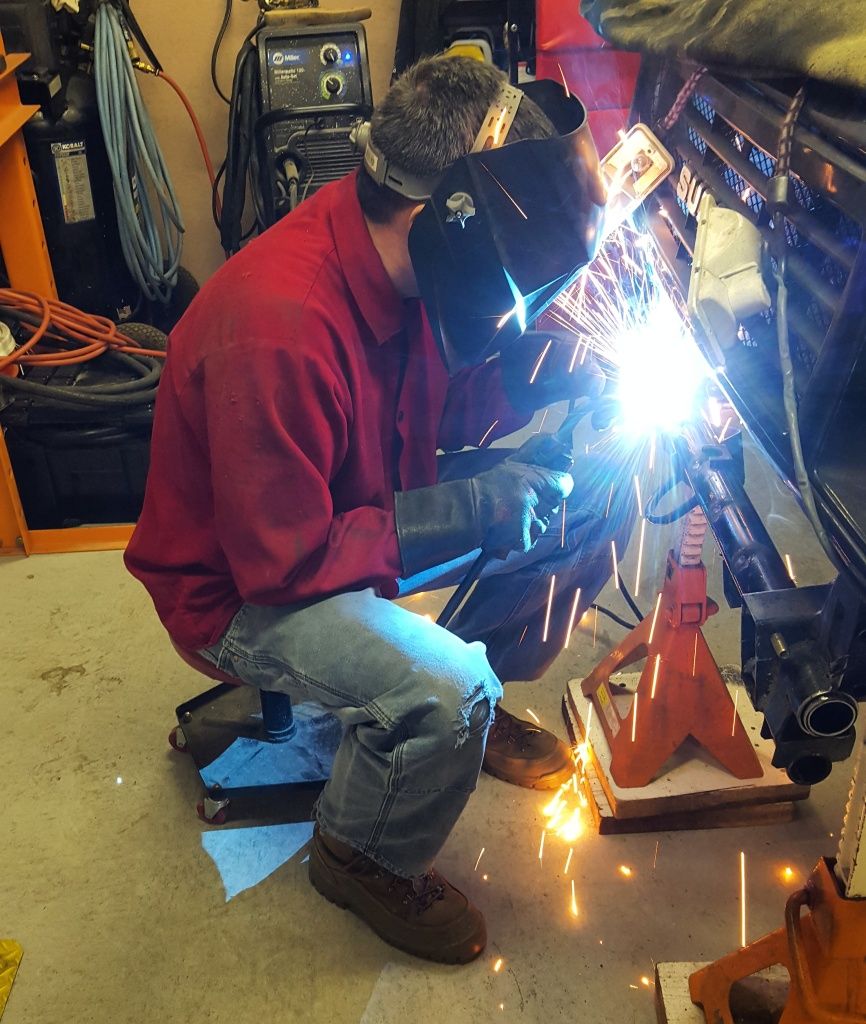
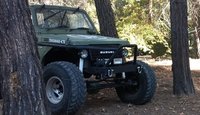
Hey all, I'm back on the Samurai build. I put it into storage shortly after starting this thread and it sat there until a few weeks ago.
A buddy and I worked out a labor trade. I painted the interior of his "new" home and he is going to tackle the build. He's got the better end of the deal! The previous owners of the house did not take care of it and it took about 200 hours of labor to get the house into good shape again.
There is certainly less worked needed on the Zuk.
Anyway, I will start posting the progress. The pic above is a couple Saturdays ago. We're a little further along now.
Last edited by UT410 on Fri Jan 22, 2016 11:16 pm, edited 1 time in total.
For more of my build, check out my Instagram account: https://www.instagram.com/kungfubowler/
-
UT410
- Got muddy boots
- Posts: 25
- Joined: Tue Jan 28, 2014 9:51 pm
- Location: Salt Lake City, Utah USA
- Contact:
Re: 1988 Samurai Build in Utah, USA
After the axles were pulled some bracketry was removed from the front frame rails and then prepped for reinforcement plates.
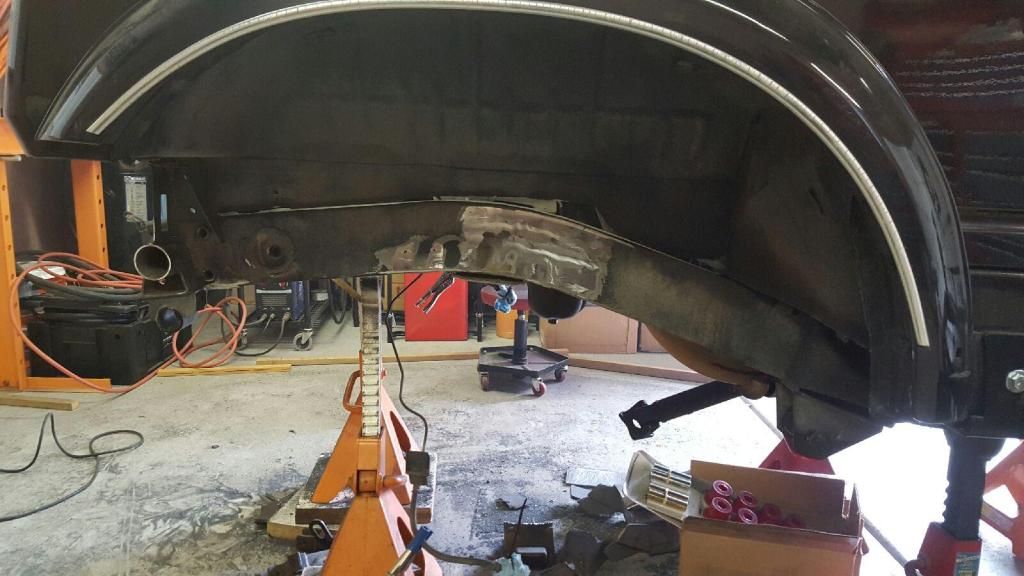
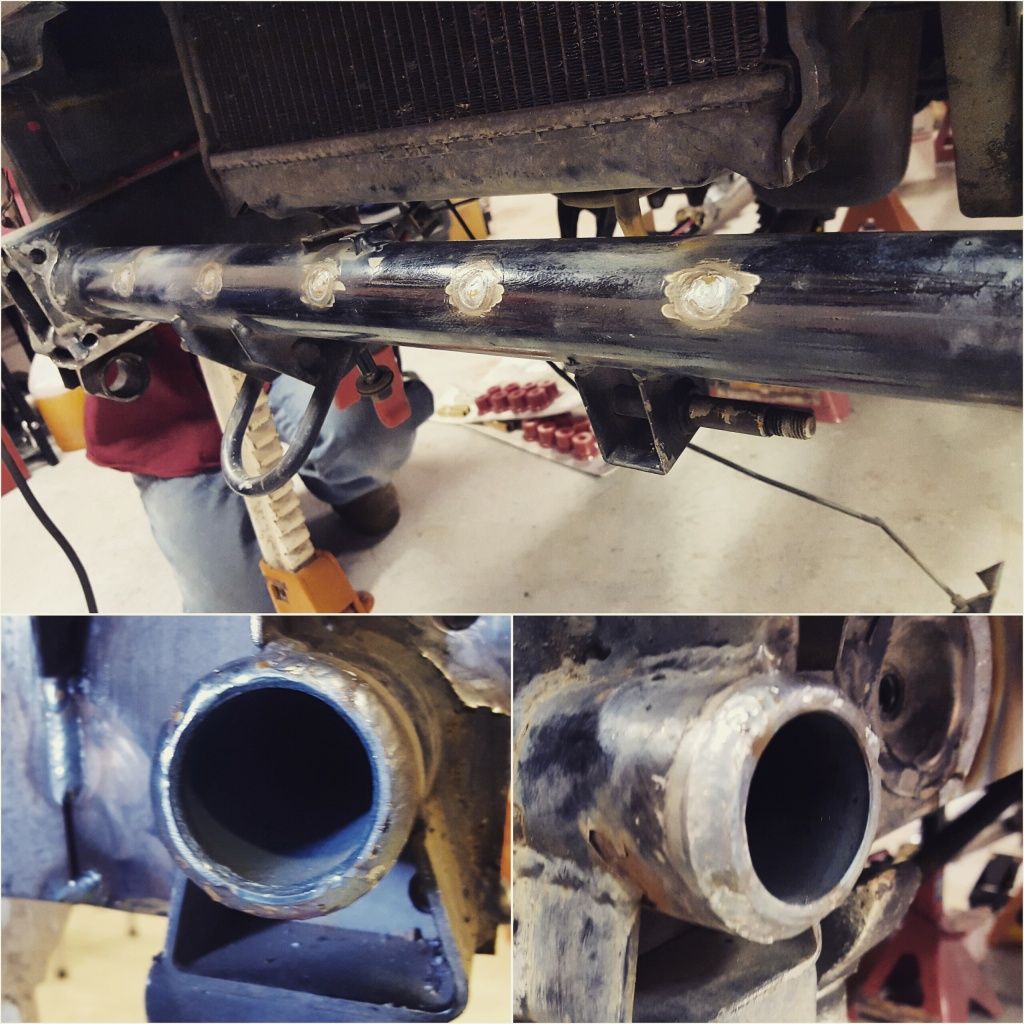
As well, the front tube crossmember was sleeved with 1.25" schedule 80 pipe. I think it comes out to 40-something mm OD. I picked it up from a local home improvement store.
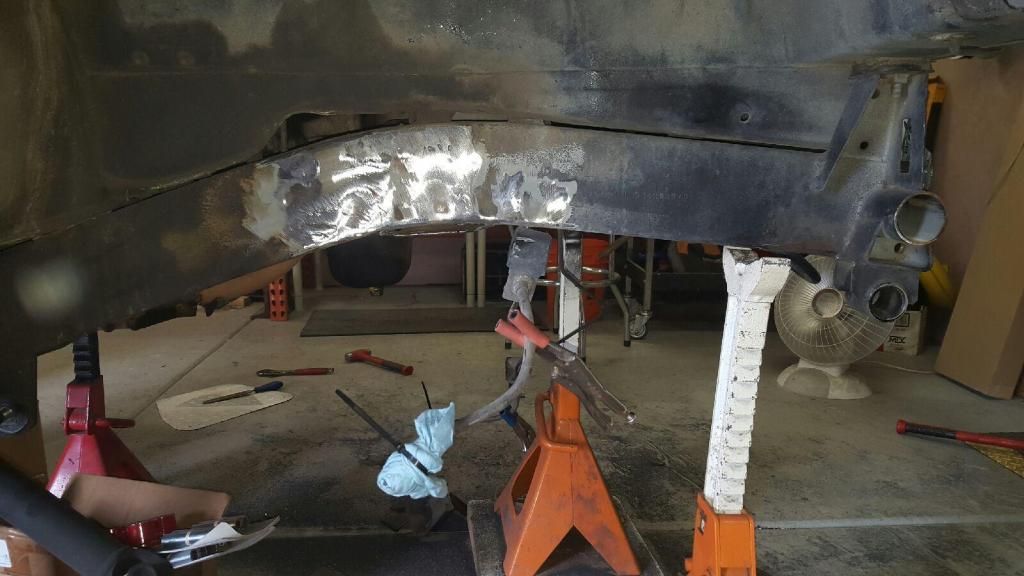
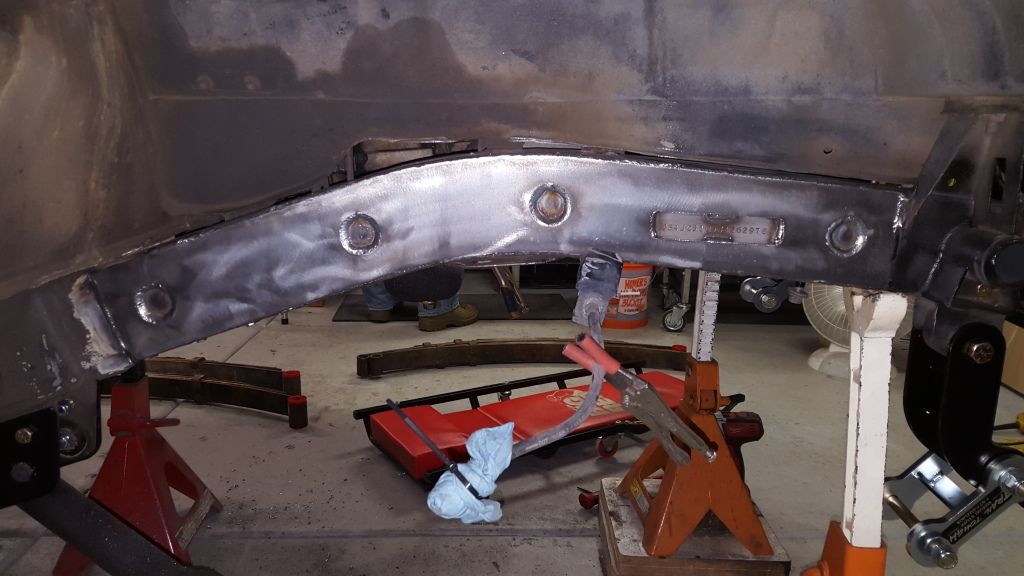
Then onto frame reinforcements:
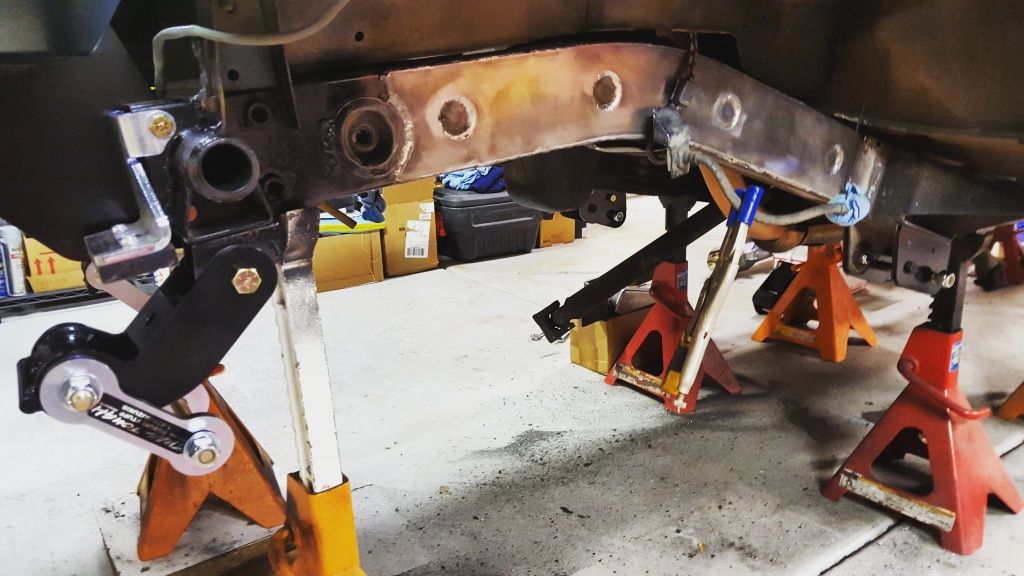
I'm using Je*p YJ springs and a Trail Tough YJ kit. You can see the missing link (drop shackles above).
We fitted it all together, bumper, shackle bump stop, etc. The crush sleeves in the frame (for mounting the bumper and such) were also welded in.
I ordered the incorrect spring bushings so that stopped us from putting the springs on and getting the front axle in place. They have arrived so that's next up.


As well, the front tube crossmember was sleeved with 1.25" schedule 80 pipe. I think it comes out to 40-something mm OD. I picked it up from a local home improvement store.


Then onto frame reinforcements:


I'm using Je*p YJ springs and a Trail Tough YJ kit. You can see the missing link (drop shackles above).
We fitted it all together, bumper, shackle bump stop, etc. The crush sleeves in the frame (for mounting the bumper and such) were also welded in.

I ordered the incorrect spring bushings so that stopped us from putting the springs on and getting the front axle in place. They have arrived so that's next up.
For more of my build, check out my Instagram account: https://www.instagram.com/kungfubowler/
-
Tramp

- Suzuki, will you marry me?

- Posts: 2828
- Joined: Fri Jul 25, 2008 10:09 pm
- Location: Rotherham - South Yorkshire
Re: 1988 Samurai Build in Utah, USA
Great work, it's really coming on, I like the re-enforcement it looks like a really neatly done and should certainly strengthen up the front end,
-
UT410
- Got muddy boots
- Posts: 25
- Joined: Tue Jan 28, 2014 9:51 pm
- Location: Salt Lake City, Utah USA
- Contact:
Re: 1988 Samurai Build in Utah, USA
Thanks!Tramp wrote:Great work, it's really coming on, I like the re-enforcement it looks like a really neatly done and should certainly strengthen up the front end,

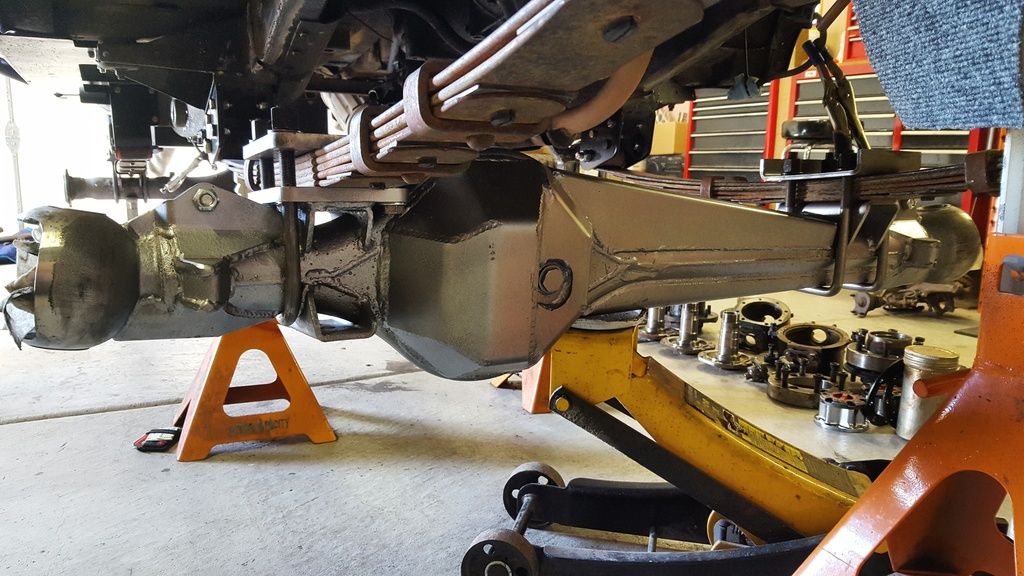
Springs mounted

Wheels in their estimated spots for mock up.

This is about how far they'll stick out.

This is a bit too far forward. It's going to contact the front of the fender during compression. It's about 3" forward of the stock axle. Plan is to move it back one inch.

Here it is moved back one inch. I think (hope) there'll be less issue as far as contact. The plan was to squeeze out as much extra wheelbase with the spring/axle swap, as possible, but the axle an inch further just looked like it would hit pretty easily. As well, it looked a bit goofy.

There's an issue with the rear axle, too. It's pushed back as far as possible on the spring pad (it has 3 spring pin holes) but it's definitely going to contact the gas tank skid. I picked up another housing to see if we could keep it at that position without hitting but it may have to come forward.
I'd love to use the housing with the diff guard but the stretch is more important. I've been looking at other options for protecting the housing but most of them look like they stick out too far, too. Luckily, this is something I'll be able to sell easily to recoup the money spent.
Still, we will see. Nothing is permanent.
That's it for now. Thanks.
For more of my build, check out my Instagram account: https://www.instagram.com/kungfubowler/

-
ektoz
- Engaged 4wd low

- Posts: 153
- Joined: Fri Apr 19, 2013 10:59 am
- Location: Paphos, Cyprus
- Contact:
Re: 1988 Samurai Build in Utah, USA
nice work bud! looking very nice so far!
-
UT410
- Got muddy boots
- Posts: 25
- Joined: Tue Jan 28, 2014 9:51 pm
- Location: Salt Lake City, Utah USA
- Contact:
Re: 1988 Samurai Build in Utah, USA
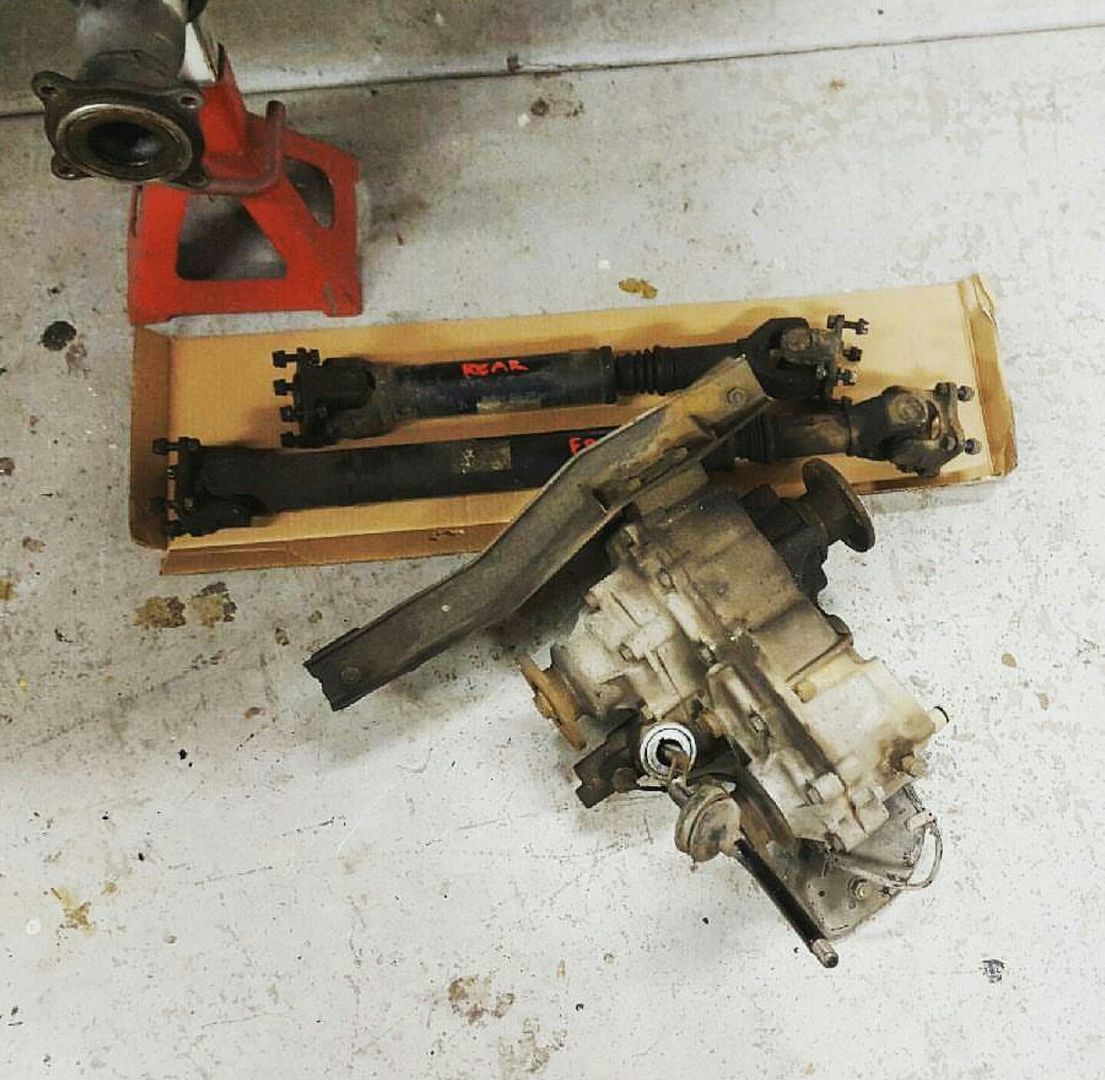
Slow/no progress. The TCase has been pulled. Some reinforcing is going to be done on the frame brackets and the cross-member. Then a regeared unit 6.5:1 is going in.
When the kids were asleep I designed some tow mounts for a buddy to plasma cut. He had some input, as well, so the design will be a little different.
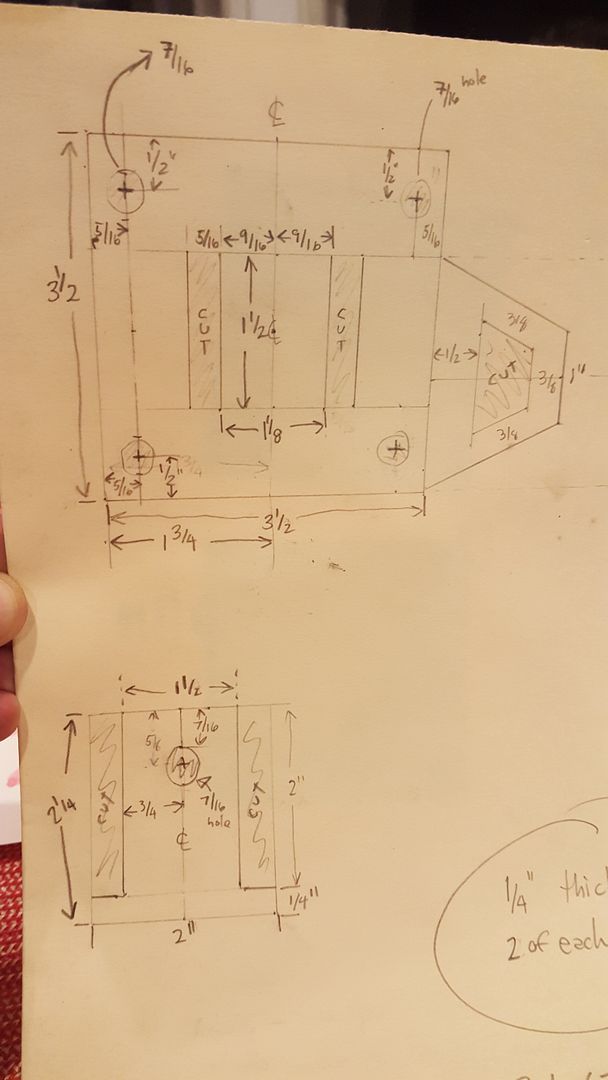

When the kids were asleep I designed some tow mounts for a buddy to plasma cut. He had some input, as well, so the design will be a little different.

For more of my build, check out my Instagram account: https://www.instagram.com/kungfubowler/
-
Anton
- I spend far too much time on here
- Posts: 3859
- Joined: Tue Jan 12, 2010 12:12 pm
- Location: London
Re: 1988 Samurai Build in Utah, USA
If you're going to be reinforcing things:UT410 wrote:Slow/no progress. The TCase has been pulled. Some reinforcing is going to be done on the frame brackets and the cross-member. Then a regeared unit 6.5:1 is going in.
T-case guard
Might not strictly be necessary, but you seem to have a thing for building your Zuk to be strong, so I thought I'd suggest it...
1985 SJ413VX (SJ50V) with SPOA, rear disc brakes, 31x10.5R15 Kaiman Malatesta tyres, an MOT and a lot left to do!
My: Build thread ● To-do list ● Pay and Play map
My: Build thread ● To-do list ● Pay and Play map
-
UT410
- Got muddy boots
- Posts: 25
- Joined: Tue Jan 28, 2014 9:51 pm
- Location: Salt Lake City, Utah USA
- Contact:
Re: 1988 Samurai Build in Utah, USA
I am looking for a couple parts. This weekend's progress. Saturday was a 12-hour day of parts chasing, cleaning nasty/gunky parts, etc. Thankfully, there's some progress that can be seen.
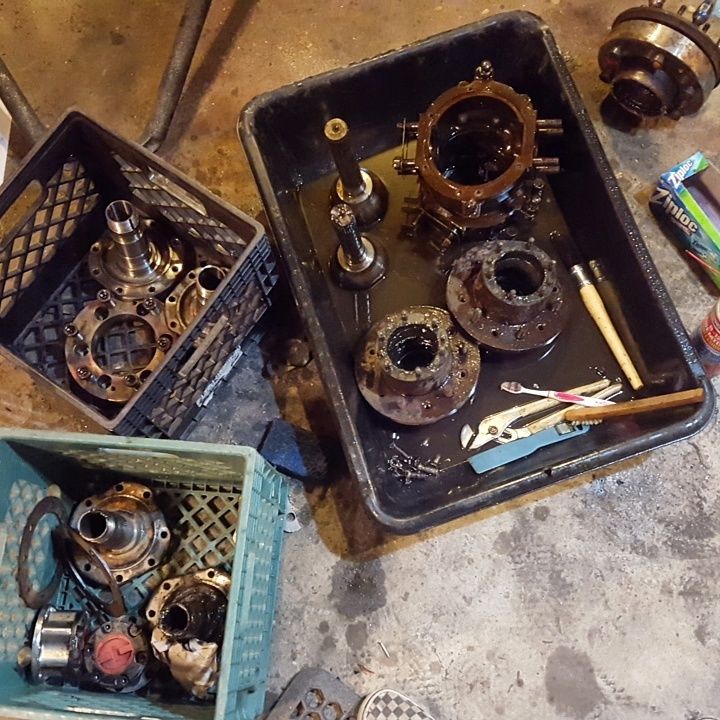
I spent a few hours Saturday night getting the parts cleaned. Every time I do it I think, "I should get a parts washer." but I never do. Been doing it this way for 20+ years.
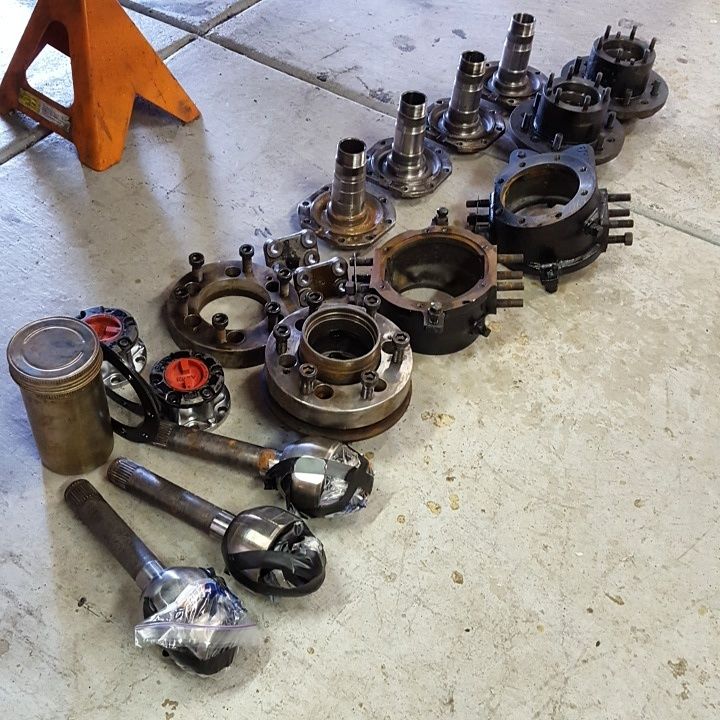
Here's the after shot of all the parts. I did get some primer and paint on some of the more visible parts.
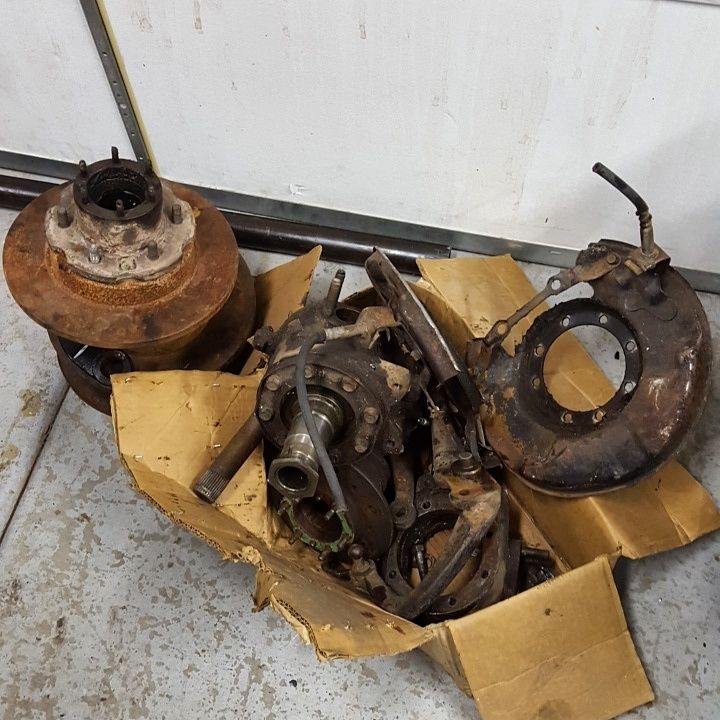
Left-overs.
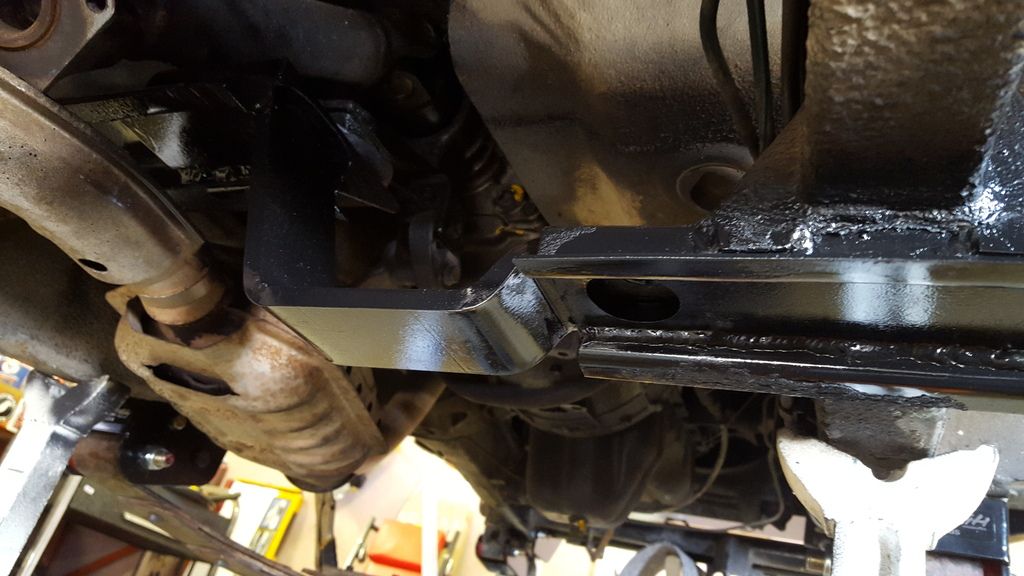
The front cross member was cut and this LROR part got installed. I am going to run a high pinion in front so it may not have been needed but I'd rather get it done now and not need it.
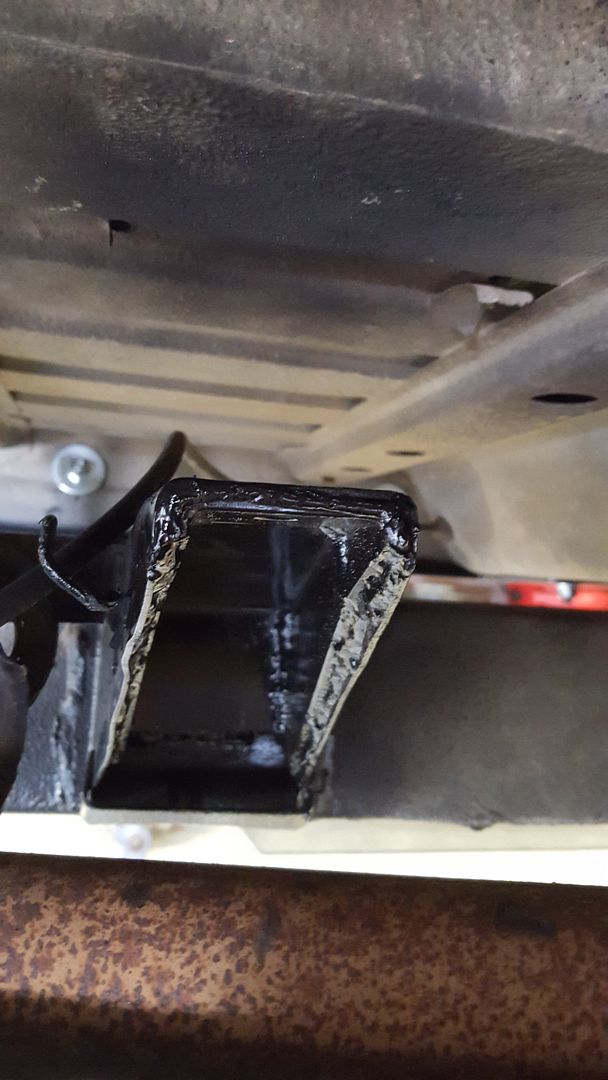
ZOR's P-liner, installed, as well.
Next time there's photos of this thing it should be complete.

I spent a few hours Saturday night getting the parts cleaned. Every time I do it I think, "I should get a parts washer." but I never do. Been doing it this way for 20+ years.

Here's the after shot of all the parts. I did get some primer and paint on some of the more visible parts.

Left-overs.

The front cross member was cut and this LROR part got installed. I am going to run a high pinion in front so it may not have been needed but I'd rather get it done now and not need it.

ZOR's P-liner, installed, as well.

Next time there's photos of this thing it should be complete.
For more of my build, check out my Instagram account: https://www.instagram.com/kungfubowler/