Page 4 of 54
Re: Anton's build
Posted: Fri May 03, 2013 9:54 pm
by Jordi
Tidy job though

Have you reinforced the mounts if it's going to be used for recovery points?
Re: Anton's build
Posted: Fri May 03, 2013 10:13 pm
by Anton
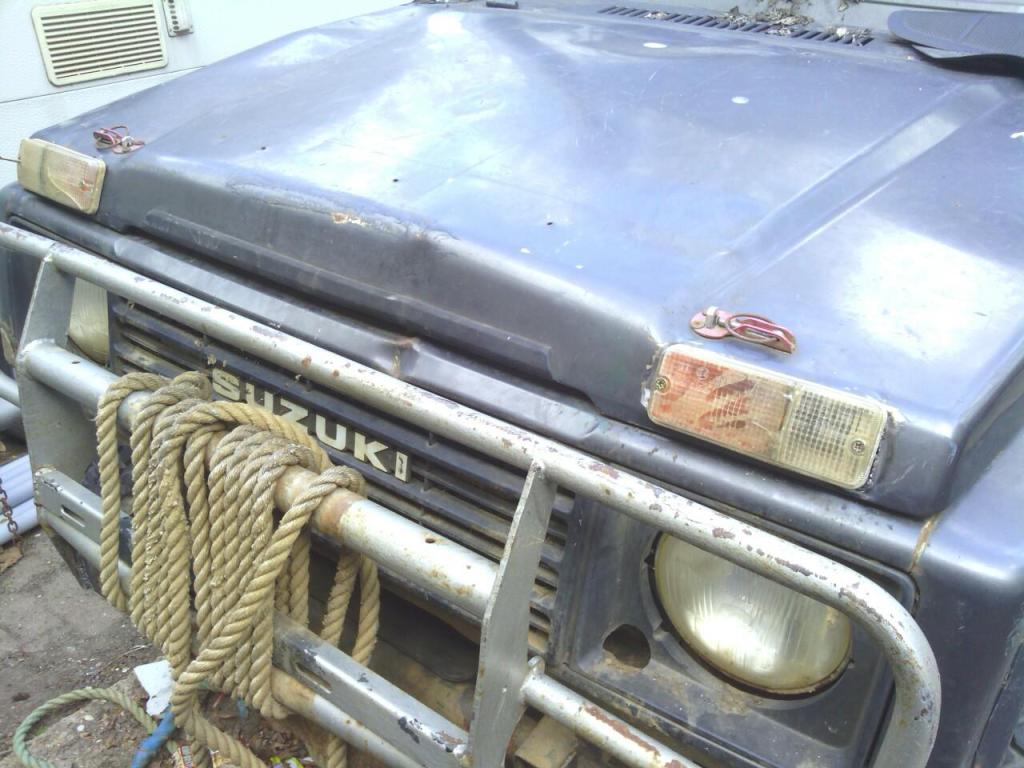
No, I haven't reinforced the mounts, because the bar directly behind is not an empty tube anymore - it's stuffed with studding the width of the pipe. See the HUGE nut on the end? That bar is my recovery point.
This thing does get in the way of that a teeny bit, but it's only temporary anyway. I suppose I *could* just drill a hole through the bumper and have the recovery rope slip through that hole. But I think it might be a good place to mount the number plate...
Gonna round off the 5mm plate before I paint it, but those bits stick out on any SJ with bullbars like these ones (I think they're fairly standard issue bullbars, aren't they?) so I can't imagine it being a problem.
I have some lengths of grey plastic tubing lying about (for a mockup of the 6 point cage or exo cage when the bodies are swapped) and if it's problematic for mr MOT man, I'll just make a couple of bits into a bumper that goes over that lot.
As I say, it's temporary!
")
Re: Anton's build
Posted: Fri May 03, 2013 10:33 pm
by Jordi
The bull bar will be fine for MOT. So long as there are no razor sharp edges.
I did notice the ends of the old bumper mount looked funny.
Be MOT'd by tuesday at this rate, lol.
Re: Anton's build
Posted: Thu May 09, 2013 5:07 pm
by Anton
Jordi - I'll just weld the ends up and dress the welds on the ends, then throw a coat of paint over it. I'm expecting to fail the MOT when I first try (there's always *something* you haven't thought of, eh?) so if it needs redoing, I'll just redo it.
Anyhew, today I did this. I still need to run some cable (they're not connected to anything right now!) but I've finally got around to moving the lights:
Not a difficult job, just FIDDLY.
Next up (probably), recondition the rear brake callipers. So close (and yet so far) from a completed rear disk conversion...
Re: Anton's build
Posted: Thu May 09, 2013 5:23 pm
by dan_2k_uk
Nearly time to take it all apart again!

Re: Anton's build
Posted: Thu May 09, 2013 5:36 pm
by Anton
dan_2k_uk wrote:Nearly time to take it all apart again!
That's a perverse thing to say!!!
...And absolutely true.

Re: Anton's build
Posted: Tue May 21, 2013 3:21 pm
by Anton
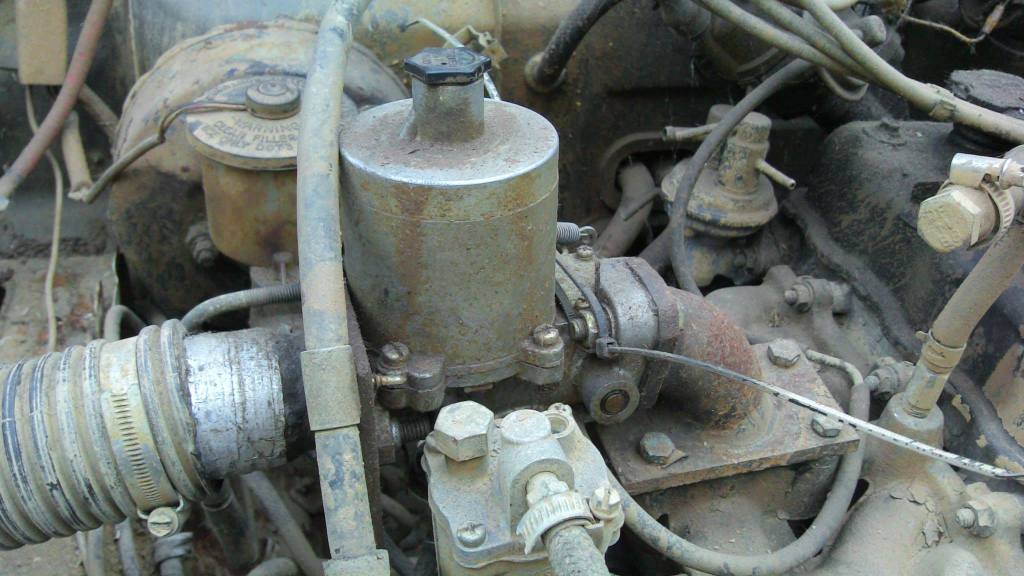
Got a new battery in there today. Took a while to get her to start, but when she did she ran lovely - apart from a sticky throttle cable that had her revving her nuts off.
Also, the throttle is more like an on/off switch - need to lengthen the arm on the SU to make it more of a progressive, smooth revving beast.
Also can't work out where my rear fog light went. And several bulbs need replacing. Ho-hum, the jobs list gets longer, the time I have to do it in gets shorter...
Oh, and the windscreen wipers have stopped working for some reason.

Re: Anton's build
Posted: Tue May 21, 2013 3:39 pm
by twiss
Interesting, I've just got the standard throttle lever on my HIF 44 and it works really well!
Combined with a standard throttle abutment plate off a mini I find it works well with the SJ throttle cable
")
Re: Anton's build
Posted: Tue May 21, 2013 7:35 pm
by Anton
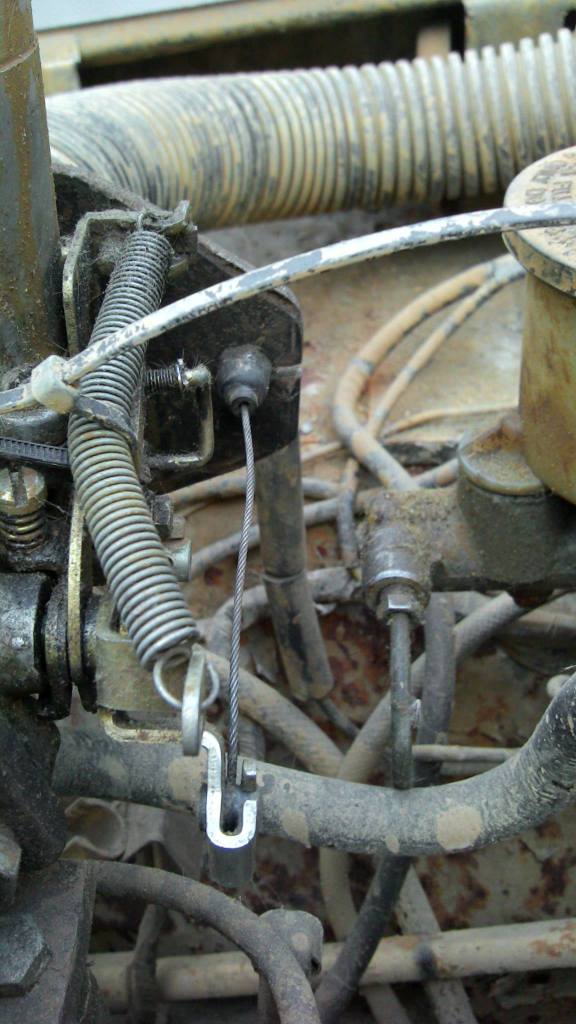
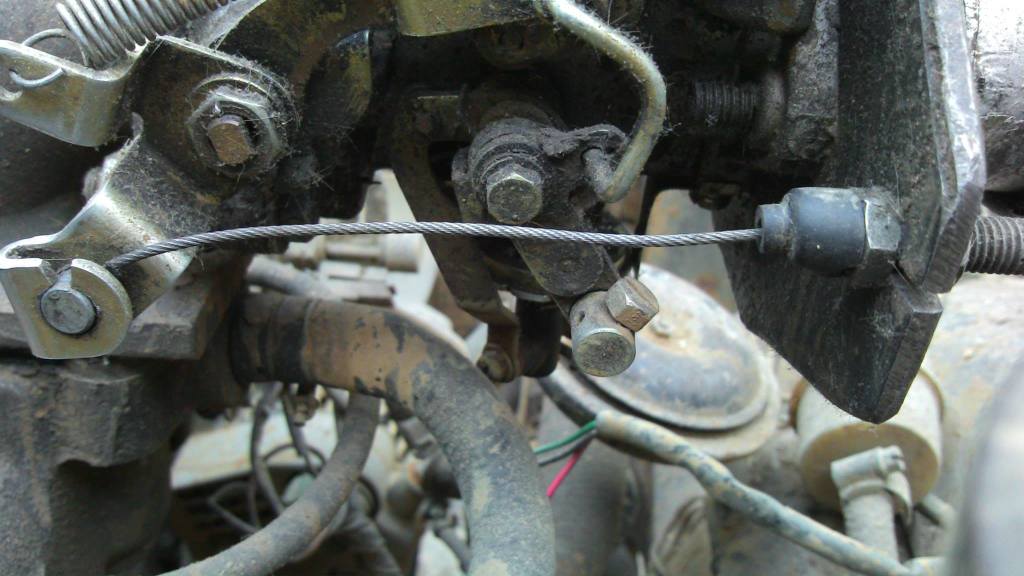
Twiss - should probably have mentioned that my SU is very unusual. It isn't an HIF 44 - I think it's a knockoff.
And I don't have a throttle abutment plate - I have a DIY job holding the trottle cable. Trying to explain would be useless, so here's a pic or two:
Re: Anton's build
Posted: Tue May 21, 2013 7:41 pm
by Edweird
I like the indicator and sidelight position. Looks like a 60s Ford/Chevy pickup.