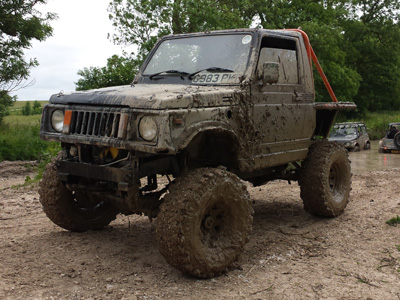
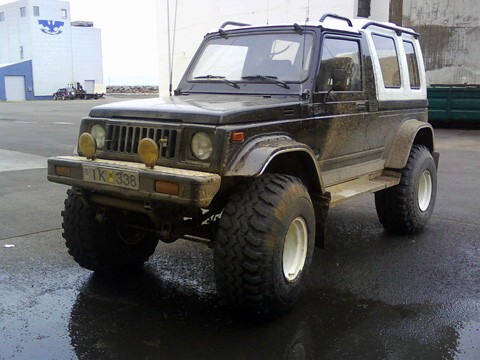
The following write-up was done by myself on my own '92 Spanish built Suzuki Samurai. Knowing what Suzuki's are like, there will probably be differences between different models, depending on whether they're Japanese, Spanish, 410's, 413's, the weather, time of day... (you get the idea). Since I don't know the "ins and outs of japanese ones", I would advise you research anything that may be different, although most of it will be substantially the same. - Just something to think about.
Why rear disk brakes...
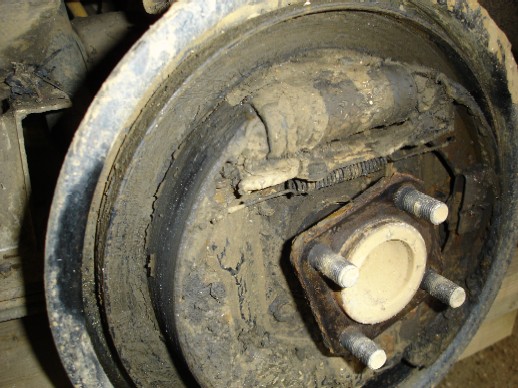
A stock Suzuki SJ uses both brake discs, and drums. discs on the front drums on the rear. On a road going car, brake pads will out-live a brake shoe around 3 times over. On an off-roader brake shoes can wear out in a matter of 500 miles or even less! This is because of the amount of gunk that they retain within the drum. This creates extra friction and when the wheel and drum are spinning the shoes are gradually getting worn out.
This means after every trip off road, you should be taking off the wheel, dis-assembling the drum and cleaning out the insides, and if you're like me, the last thing you want to be doing after a tiring off road session if taking the drums to bits!
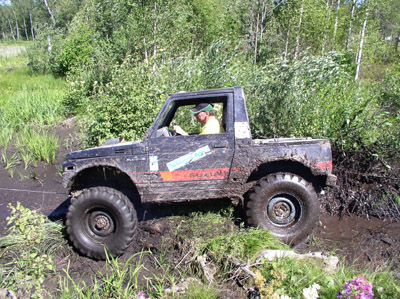
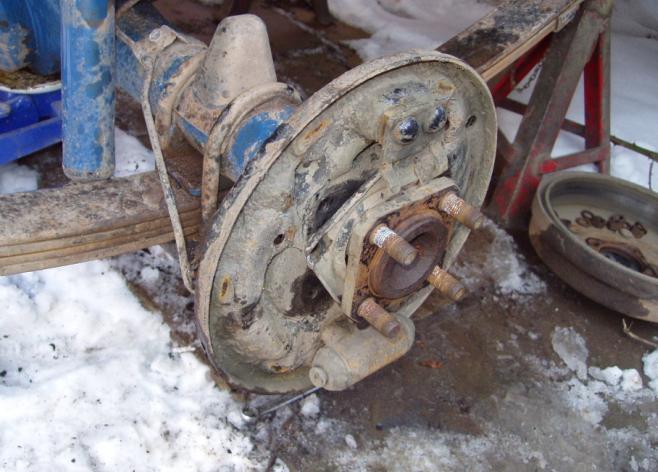
I'm sure most of you can recognize this sort of sight:
With disc brakes, you have more control, they are easier to clean up, and the pads last longer. No wonder its becoming increasingly popular.
What you need...
This write-up will show you how I did my rear disc conversion. This method uses standard Suzuki parts all round, so all you need is one set of spares, keeping things nice and simple and you wont have to carry loads of different types of spares when out off roading. From your old axle you can use:
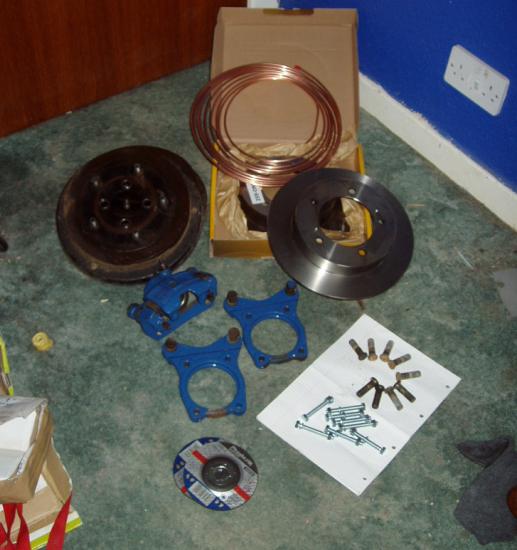
- brake drums
- 2 backing plates
- 2 brake discs
- 2 caliper from a front axle
- 2 calipers mounts from a front axle
- set of brake pads
- 8 wheel studs from a FRONT axle
- 8 new high tensile M8x90 bolts
- 8 nuts and spring washers for the above
- new brake line
- Brake fittings:
- 2 male union connectors
- 2 female union connectors
- banjo bolts for above
- 2 flexy hoses
- some extra brake fluid
- Main Tools:
- Angle grinder with at least 2 cutting discs
- spanners
- and a big hammer
Alternatively there are many after market kits that can be bought that are a straight bolt on, but you wont spend less than £100 on these, and they only include the caliper mount and disc carriers! For comparisons sake, I spent around £50 - £60 on the whole lot!
Preparation work...
Just to make it a bit easier to do, some helpful tips:.
- Soak all the brake line connections in WD-40, chances are they will be somewhat seized and they'll need a bit of time with the WD-40 to help them loose.
- Also, take the cap off the brake fluid reservoir, cover it with a latex glove (or something similar - so long as it creates an air tight seal) and put an elastic band to hold it on . This worked a treat for me and stopped the pressure enough so the brake fluid only dripped out the lines slowly.
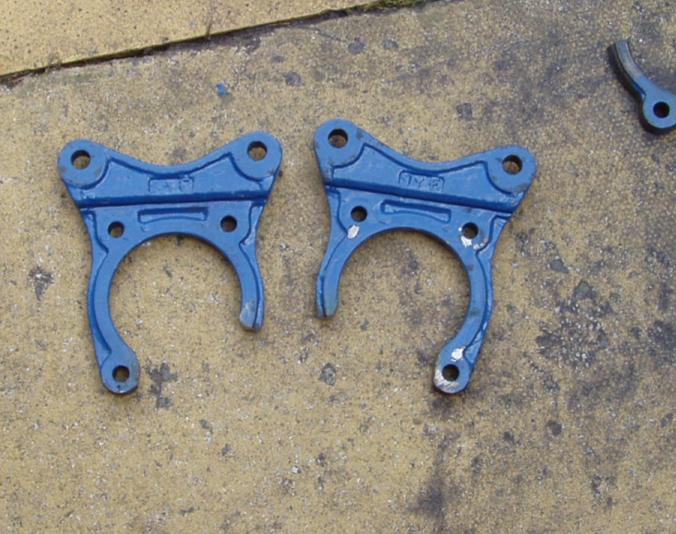
- I also suggest you clean the calipers and mounts up first. When I got my extra set they were filthy and the mounts were rusted quite badly. The last thing you want is them to rust right through and fail. I gave mine a lick of paint as well, just for a bit of extra protection.
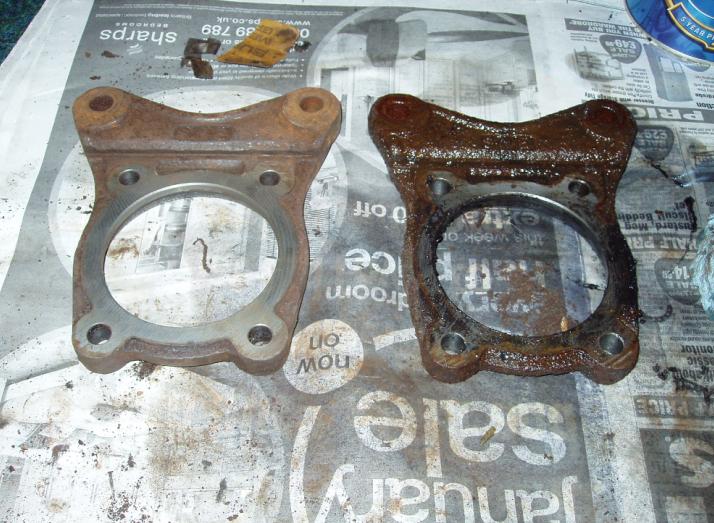
Cleaned up well after using LOTS of grinding paper and degreaser.
Build info...
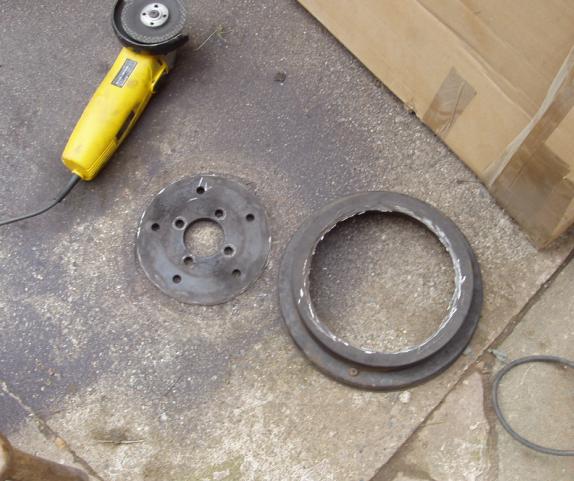
- First you will need to sort out the drums. First hammer out the wheel studs. The drums then need to be cut with an angle grinder and cutting disc. Luckily, some have an indent in them which can be used as a template: You will want to check this as there are a few different drums used on SJs, some if cut around the indent will not be small enough to fit inside the disc.
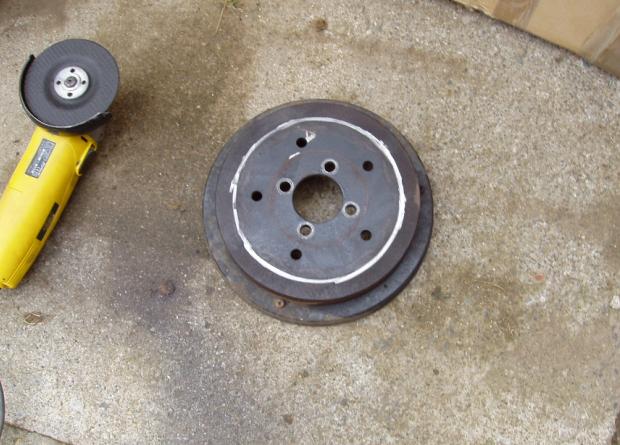
Once you have eventually cut this out you will have what will be used as your disc carrier:
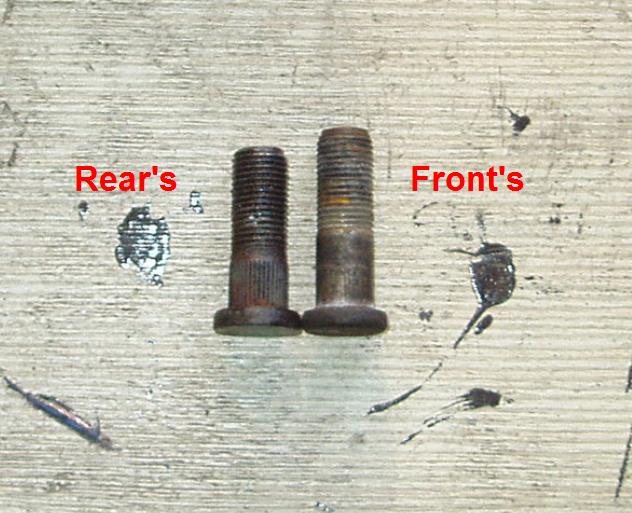
- Now you will need to put you front wheel studs in. Front wheel studs need to be used as they are longer than the rear ones:
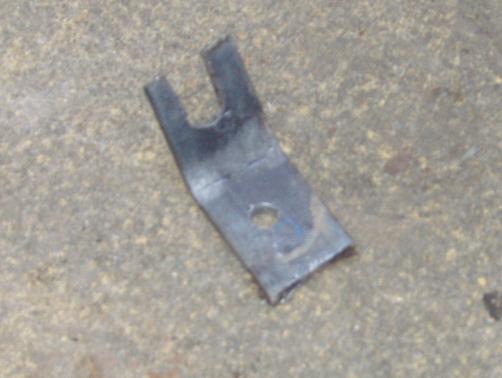
- Next you need to cut the mounts so they will slide over the rear axle. You only need to make it fit over the narrow part, then they will slide up over the ends where it gets thicker. The bottoms need to be cut at an angle (shown below) so it can accommodate 3 of the 4 bolts which currently hold the backing plate onto the axle.
Cut the mounts smaller than needed at first. Its a lot better than cutting off too much! - The mounts now need to be drilled to allow the new bolts to connect them to the axle. I did it so the existing holes were pretty much in-line with the rear axle retaining holes. This makes the caliper sit at an angle to the axle. If you make it sit at 90° the caliper will hit on the bump stop at full compression.
I had the help of a friend's spare rear axle to line up the bolt holes where I needed them: (If you don't have access to a spare axle, wait until the drum brake assembly is off the axle to make the holes - see later steps)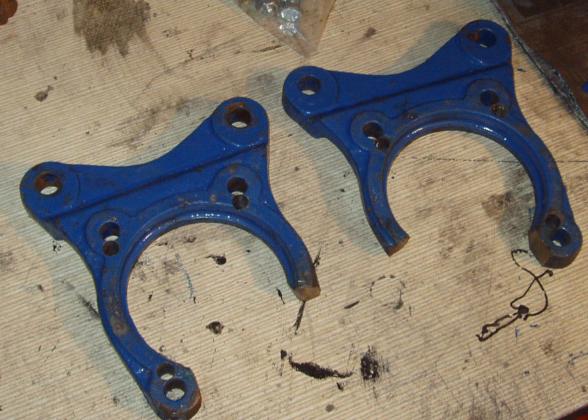
- Now the work on the axle starts. With the drums already off you need to take off the shoes leaving you with just the backing plate and brake cylinder:
The backing plate needs to come off simply by un-doing the four bolts holding it to the axle. The steel brake line now needs to be taken off - just cut it with a hacksaw as it is no longer needed. The half shaft then needs to come out (a slide hammer may need to be used for this). With the half shaft out you can now take the backing plate off over the wheel bearing.and you are left with the shaft and bearing retainer (Spanish models) - for Japanese models, I believe the backing plate is ALSO the bearing retainer. - The backing plate now needs to be cut, again using the angle grinder. This acts as a spacer between the axle housing and bearing retainer. Without it the retainer wont sit flush against the axle housing.
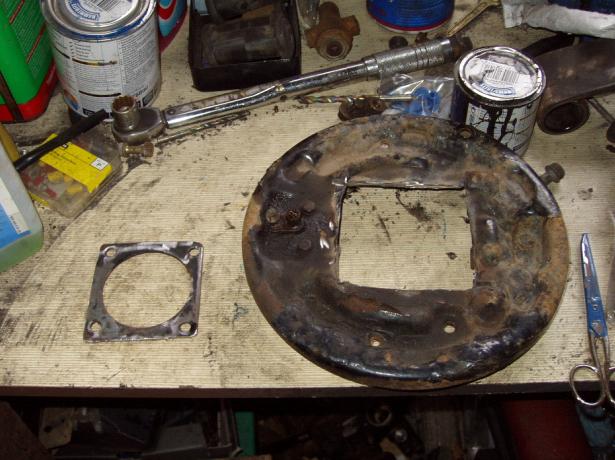
There should be an outline (probably of dirt) which you can cut around, but as long as the bolt holes are within the cutting line you will be ok. Clean this up and give it a coat of paint. - The backing plate now needs to go back over the half shaft and bearing, and the half shaft can be slid back into the axle housing. This is also a good time to check your bearings. Re-packing them with grease would also be a good idea (not going to hurt anyway)
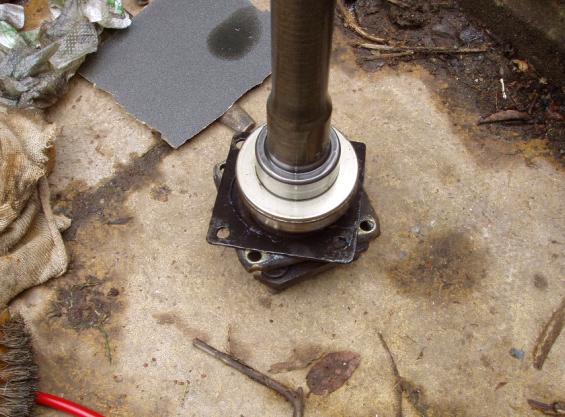
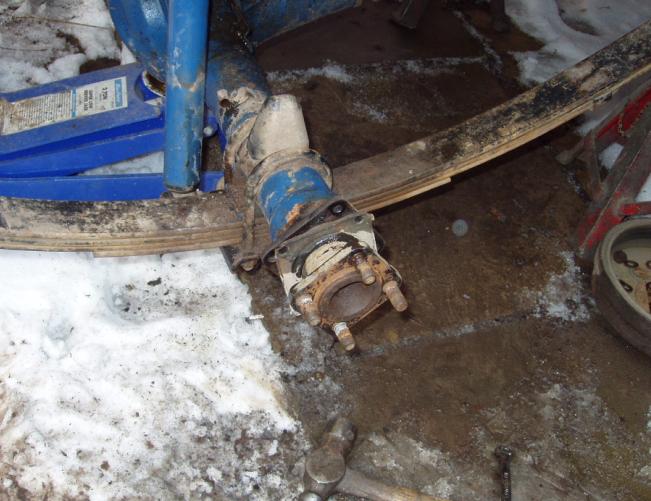
Fits like a glove! - Now the disc brake assembly can be started! The caliper mount needs to go on first. Hook it over the thinner part of the axle, and slide it up to the end of the axle housing lining up the bolt holes, and slide the bolts through (a hammer may come in handy here).
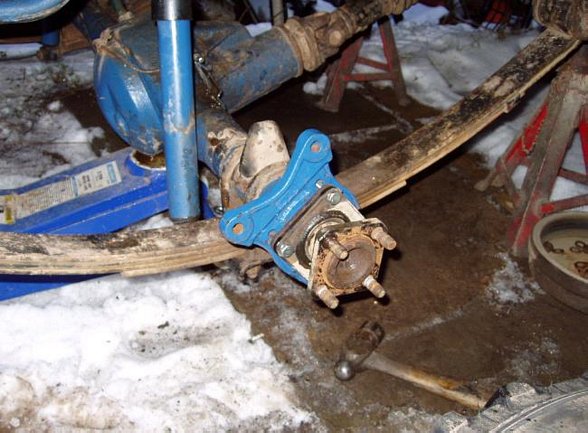
Bolt it up tight so the spring washers are flat and there is no movement in the mount at all. In addition to this, you can strengthen the mount by welding it on as well (make sure you can still get the bolts out if you need the half shaft out). Bolting it on should be sufficient.
The disc carriers can now be put on exactly the same way the drums were put on.
f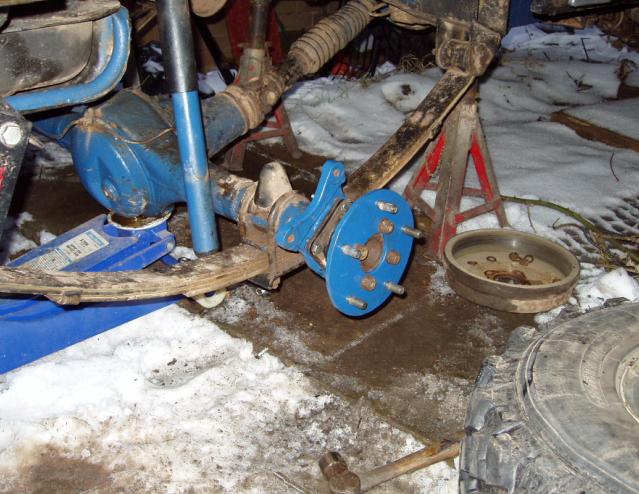
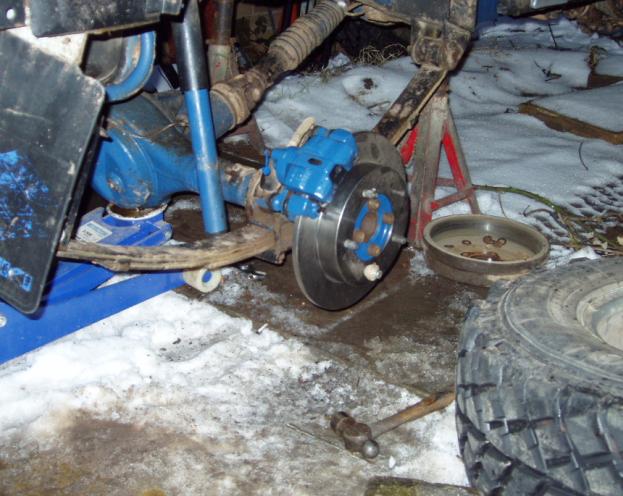
- Now add the disc and slide the caliper over it and line up with the bolt holes. There may be some excess space in between the caliper and mount. I ended up using some washers as spacers to get around this. Simple but effective.
- Now onto the brake lines. I simply used a length of copper line from my local motor factors for around a fiver. Bent it into shape and flared it myself (make sure you put the union connectors on the line the right way round before flaring).
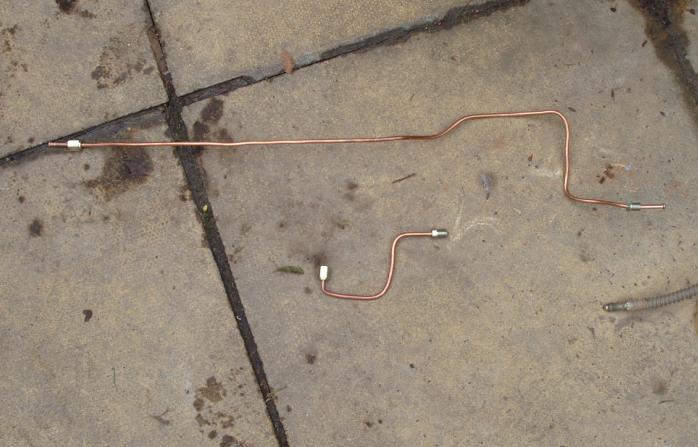
I used the standard "T-Piece" for the connection at one end, and at the other end, the line connects to the flexy hoses off the calipers. - Mounts now need to be made to hold the flexys in place where they connect to the hard line. I used a spare length of metal I had lying around, drilled two holes in it about 7mm for the original axle mounting bolt (10mm head) to fit through, and 10mm for the brake line to fit through. Then I cut down towards the 10mm hole so the flexy could easily be removed by loosening the lock-nut and bent it round 90°.
- Bolt the mount down, fit the flexy down on top of it and tighten the lock-nut onto it, and make sure all the brake fittings are tight and it should end up looking something like this:

I would advise you test out your shock absorber when you have done this. In their original place, my shock fouled on the brake line when at full droop and at compression. This was due to my custom set up, and was reletivley easy to fix. If I had left it, it would have cause serious problems and possibly caused the brakes to fail.
The brakes are one of the most important things you have on your vehicle. DON'T leave things to chance. Always double check and it may just save your life.
Finally...
Once all this work is done, bleed the brakes, put your wheels back on, and see for yourself the improvement this has over the rear drums!
Credits...
This Rear disc conversion article was written and submitted by Andy (A.K.A. Andy B).

![0610_4wd_01z+suzuki_samurai+group_of_suzukis[1274].jpg](/images/gallery/favourites/0610_4wd_01z+suzuki_samurai+group_of_suzukis[1274].jpg)
![fenderfrt6_SJ-1[376].jpg](/images/gallery/favourites/fenderfrt6_SJ-1[376].jpg)