| Inclinometers are gadgets, pure and simple. They afford no real purpose to any off road vehicle apart from the fact that they make the 4x4 look the part. If you are going to roll over in any direction, you won't need an inclinometer to tell you this. Having said this, they are good to have in a vehicle, and are easily fitted. Suzuki brough out an inclinometer for the SJ, although these can be very difficult to get hold of nowdays. Luckily, aftermarket inclinometers are readily available from most motor spares outlets, and work just as well. |  |
Standard installation ...
| Depending on whether you have the original Suzuki inclinometer, or an aftermarket model, installation will vary slightly. The original inclinometers were usually sold complete with a housing that fitted neatly onto the dash of the SJ. Either way installation is simple. We will begin by looking at the installation of a standard Suzuki supplied incloinometer with housing that is to be fitted to an older type SJ. Begin by making sure that the SJ is parked on level ground. Now decide where the unit will be mounted on the dash, and cover the area with masking tape. Place the unit on the dash, and align it so that the inclinometer shows the vehicle to be level. Mark where the mounting holes are to be drilled, and after checking the accuracy of these holes, drill them. You will also need to drill an extra hole to accept the wires for the light of the unit. This hole can be about 8mm in diameter. Thread the wires through this hole, and then secure the unit. |
 |
All that remains is to wire up power to the unit for when the lights are needed.
Suzuki supplied Inclinometer
Advanced installation ...
Some later model SJ's were fitted with a "square" dash, and the older factory supplied inclinometers will not fit. The easiest place to fit the inclinometer (aftermarket inclinometers as well), is in the small cubby next to the clock.
 |
In order to fit the inclinometer in here, some modification will be necessary to the front face and setting of the inclinometer. Begin by removing the inclinometer from the housing. Now remove the front face, and placing it on a soft surface, carefully cut off the tabs that surround it. They serve no real purpose whether it is in the housing or not. Re-assemble the face to the guages, clean up the edges with a fine file, and then test for fit in the cubby. You will probably need to file the sides down slightly until it fits snugly.
Once it fits, cover the two long edges with some door trim (available from most general motor spares dealers), and fit it again. The side to side guage should need no adjustment, however, the front to back guage WILL need to be set to level. Remove the front face, and gently holding the weight, move the guage to where it should be. Re-assemble, and fit to the cubby again. It will probably take five or six attempts to set this guage, and it is a matter of trial and error. Once everything is set correctly, remove the unit and drill a 8mm hole in the back of the cubby. Run the light wires through here, and connect as described below.
Connecting the wiring ...
Run the wires to a point under the steering column. Now find the wires that come out of the light switch. Amongst these wires will be one that has 12 volts power only when the lights are swicthed on. This is the wire you want. On my SJ, it was a red/black wire. Connect the one wire to this, and the other to a good earth. Now when you switch on your lights, you will have power to the inclinometer.
That's all there is to it ! !


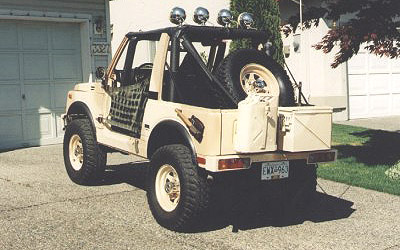
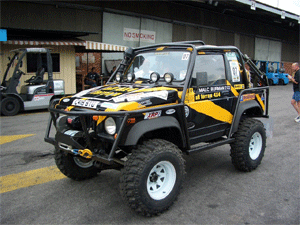
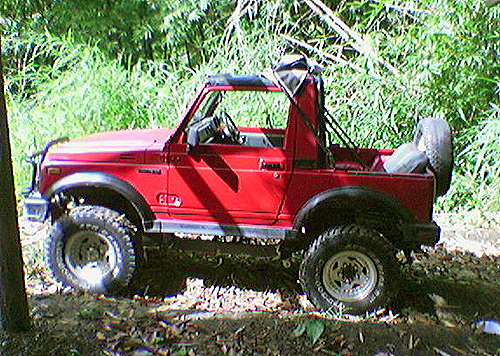
![0610_4wd_01z+suzuki_samurai+group_of_suzukis[1274].jpg](/images/gallery/favourites/0610_4wd_01z+suzuki_samurai+group_of_suzukis[1274].jpg)


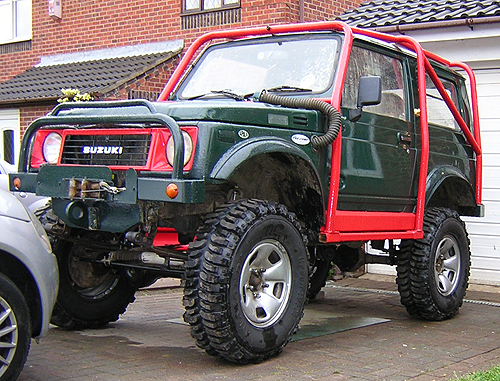
![fenderfrt6_SJ-1[376].jpg](/images/gallery/favourites/fenderfrt6_SJ-1[376].jpg)