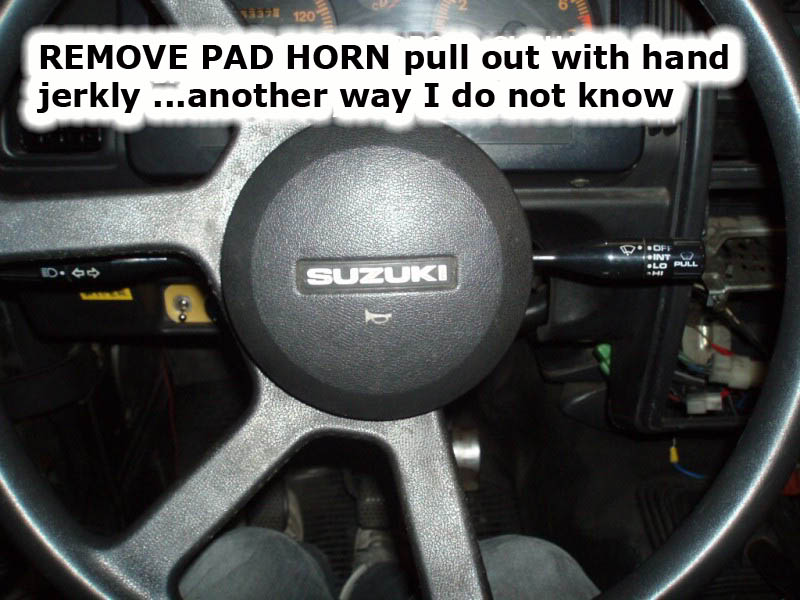
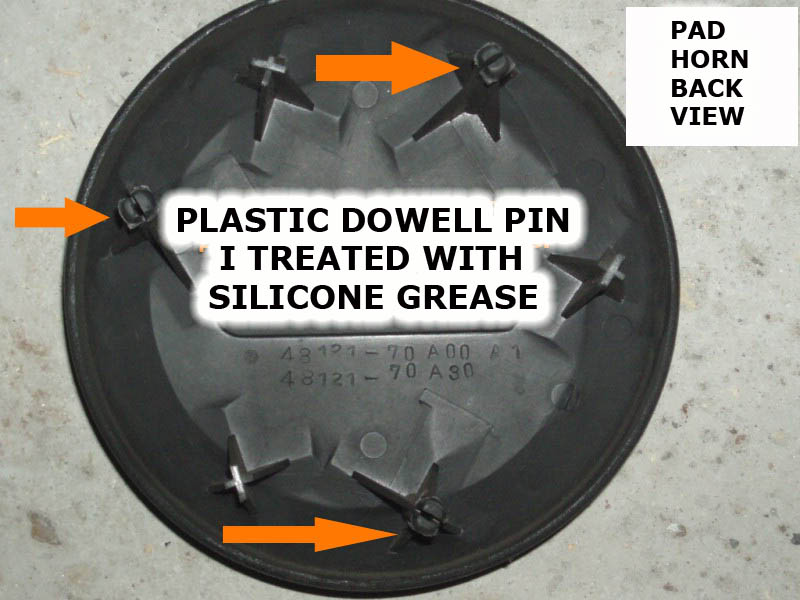
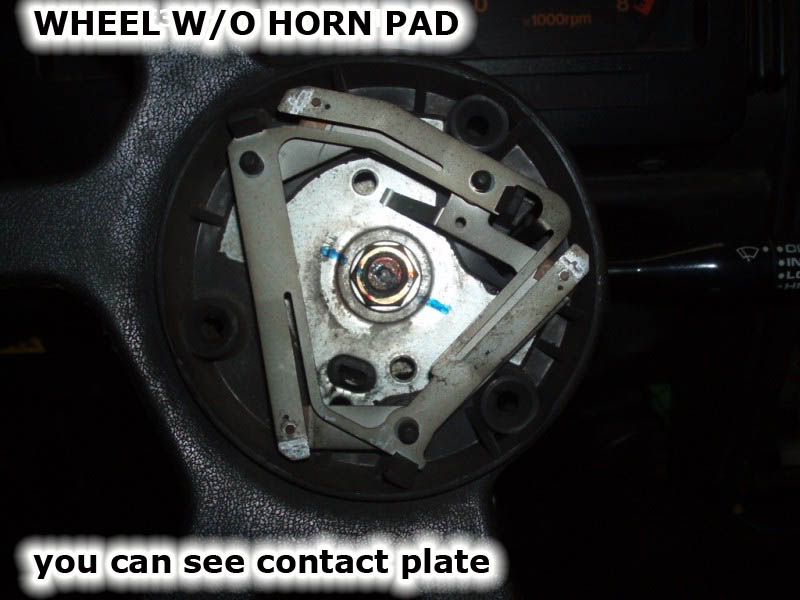
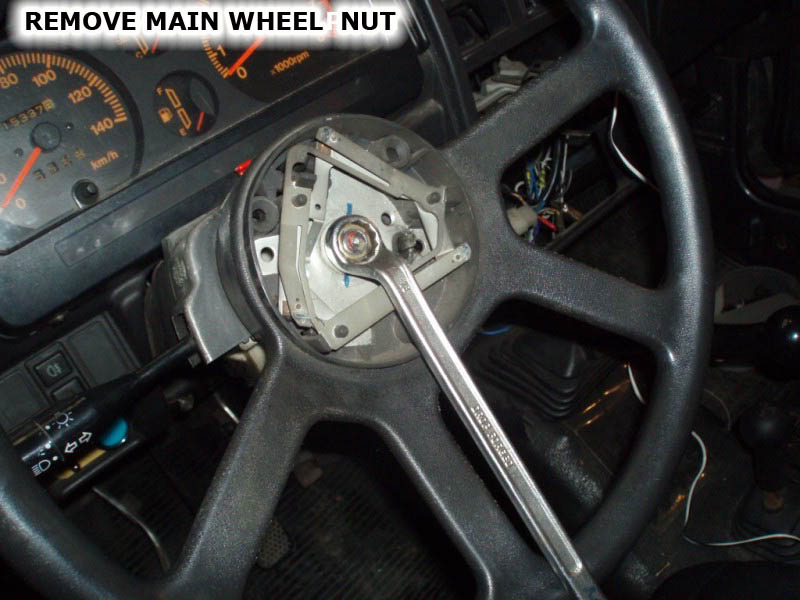
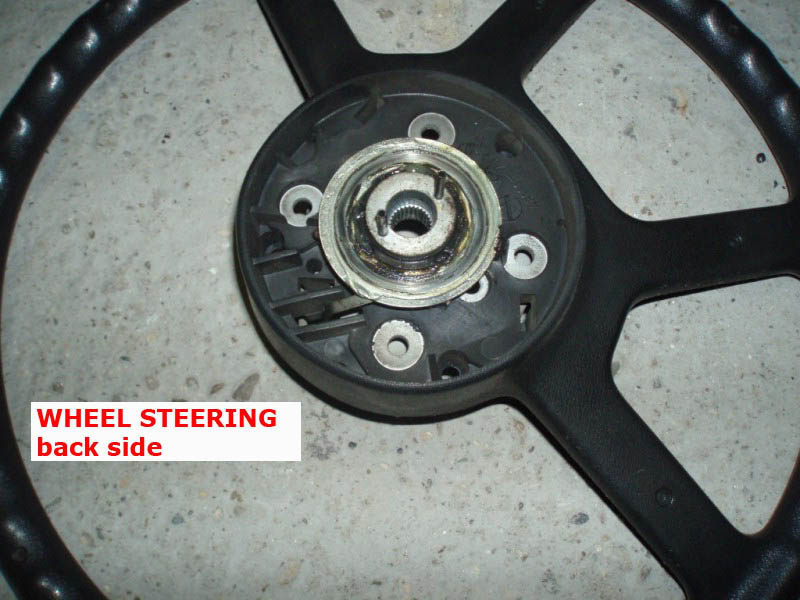
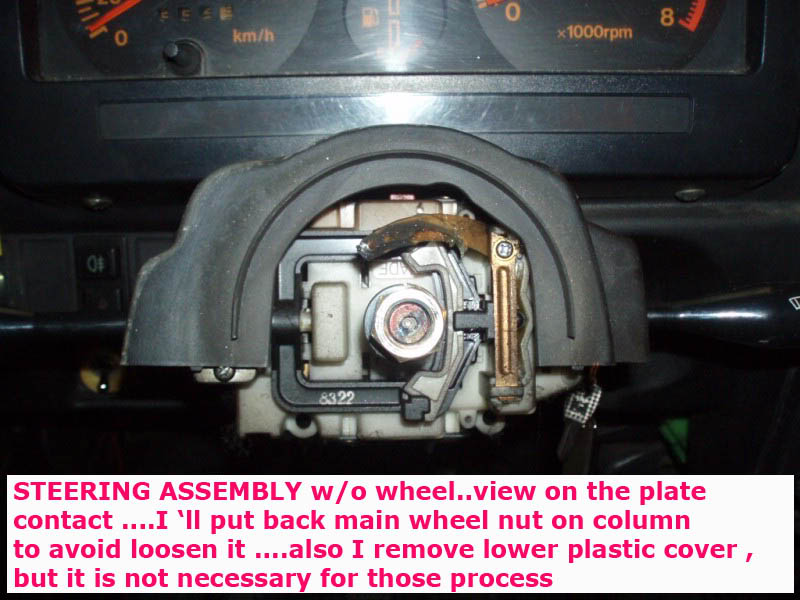
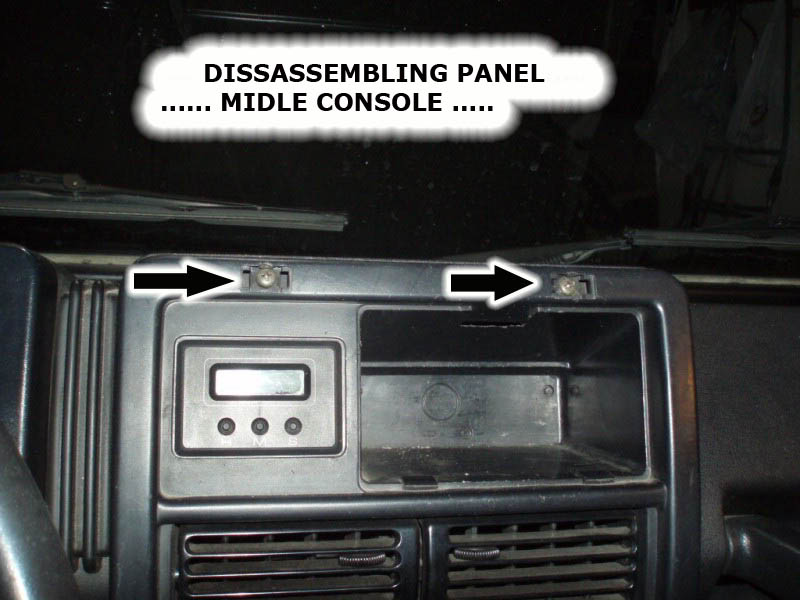
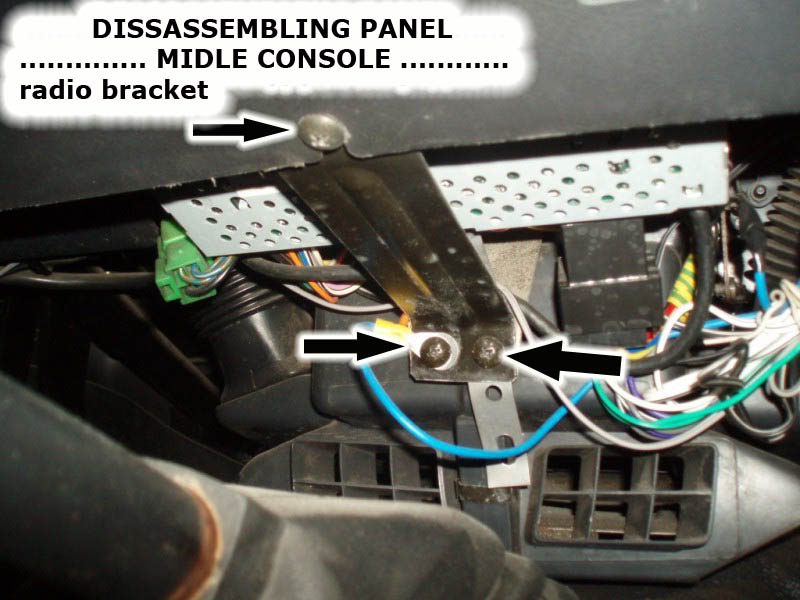
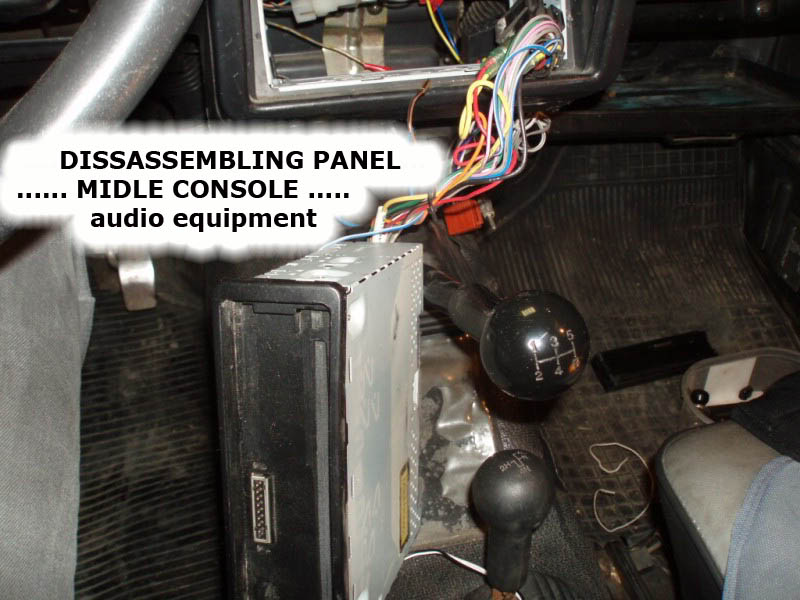
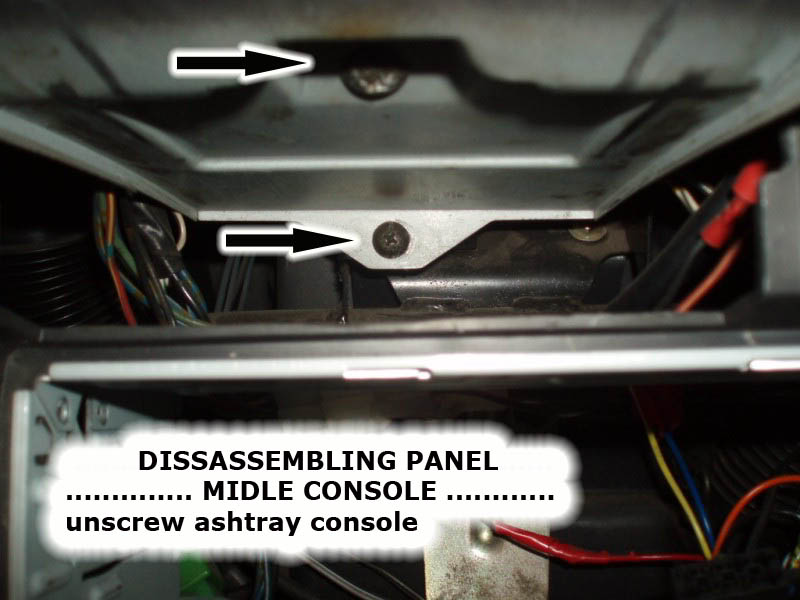
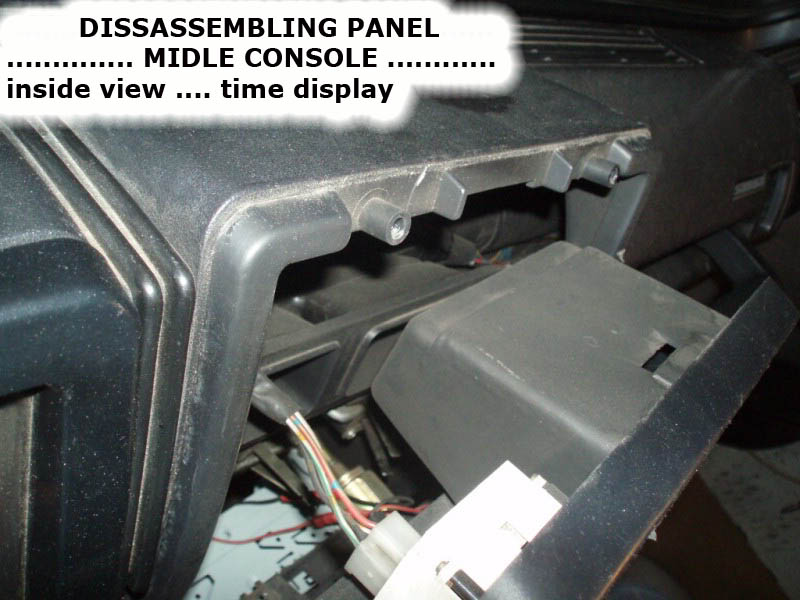
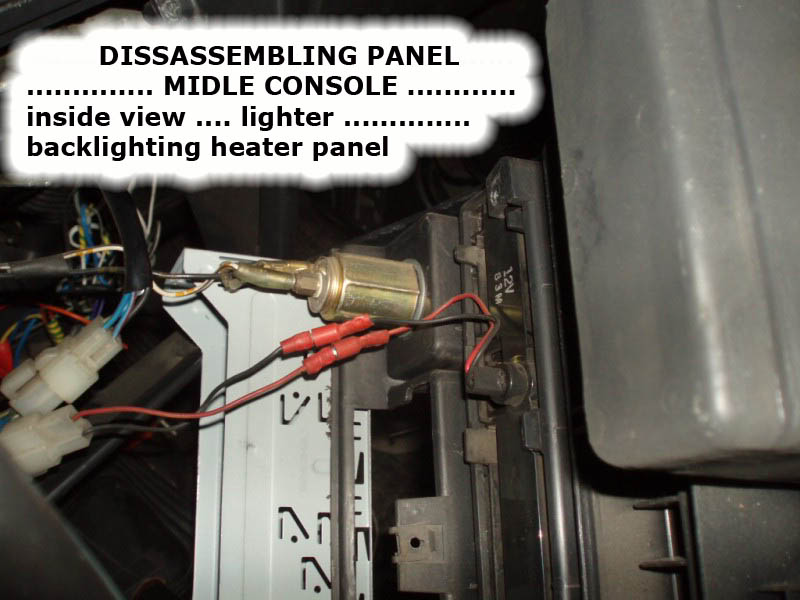
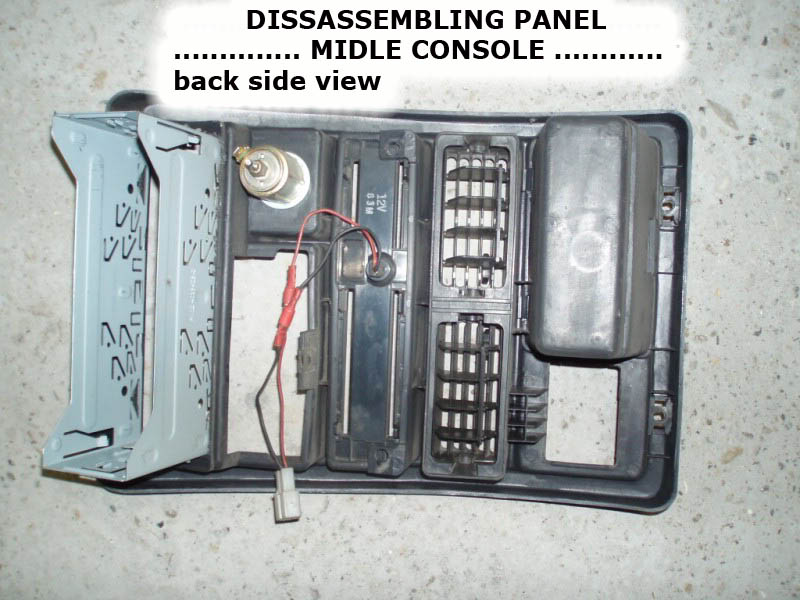
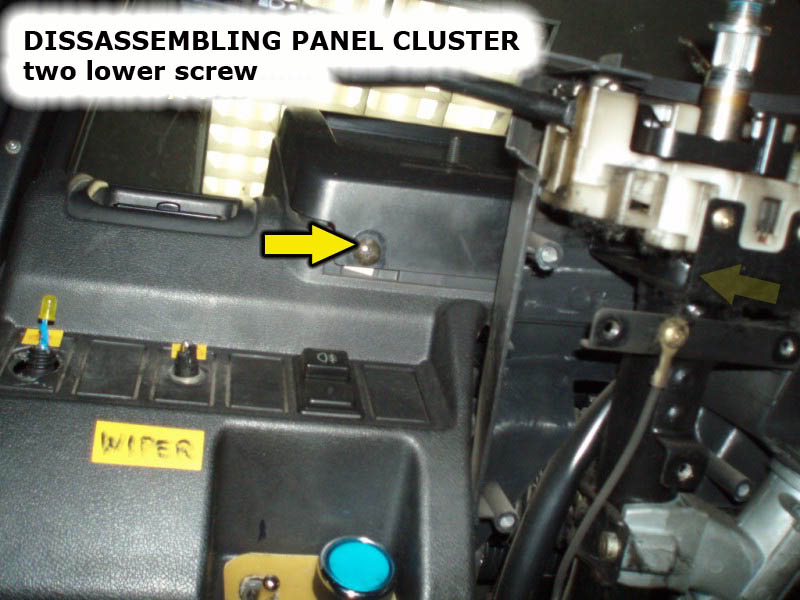
Notes...
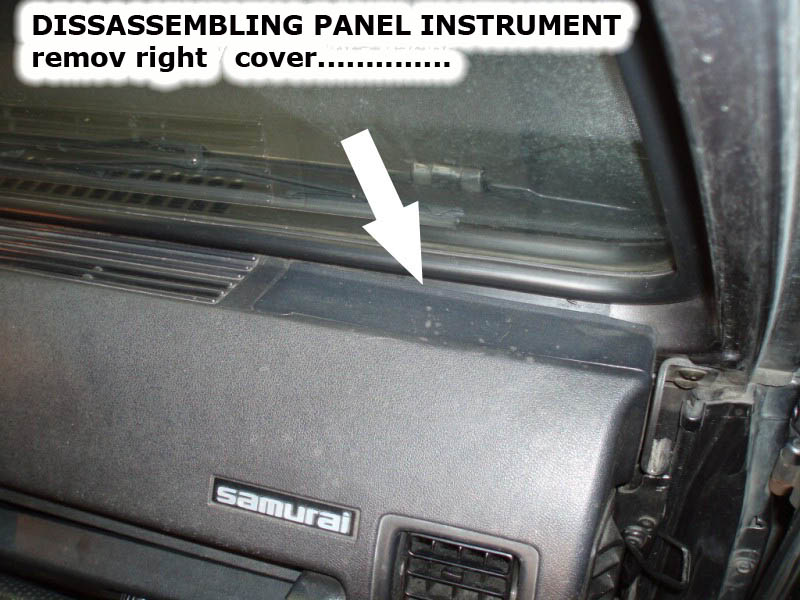
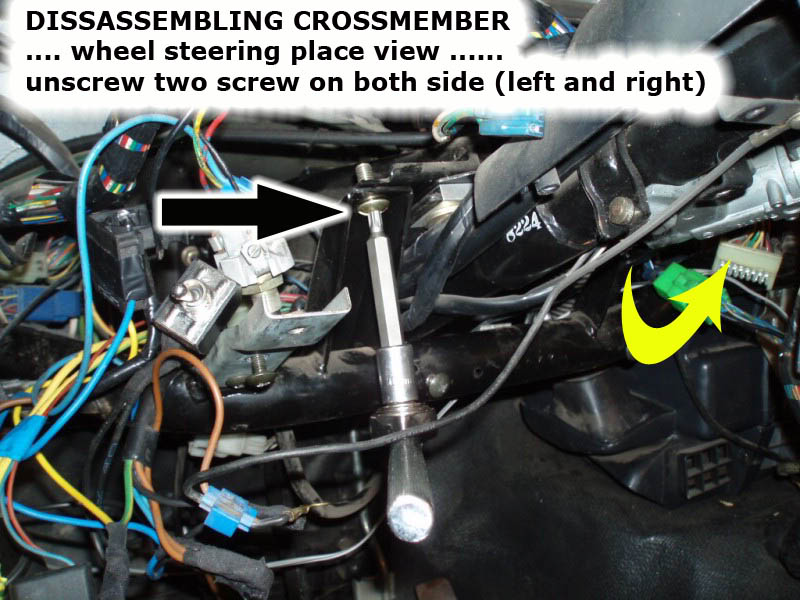
This write up contains pictures of a Left hand drive Samurai, the process is the same but the screw locations will just be on the opposite side.
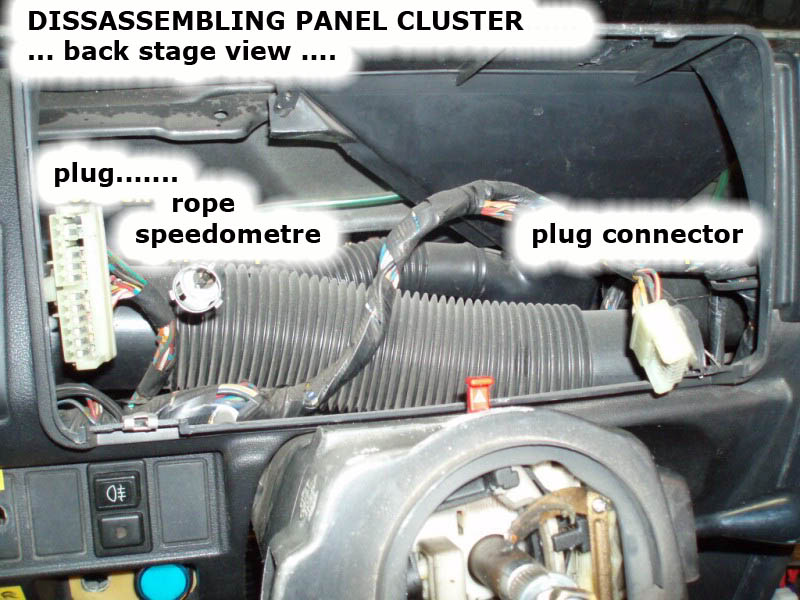
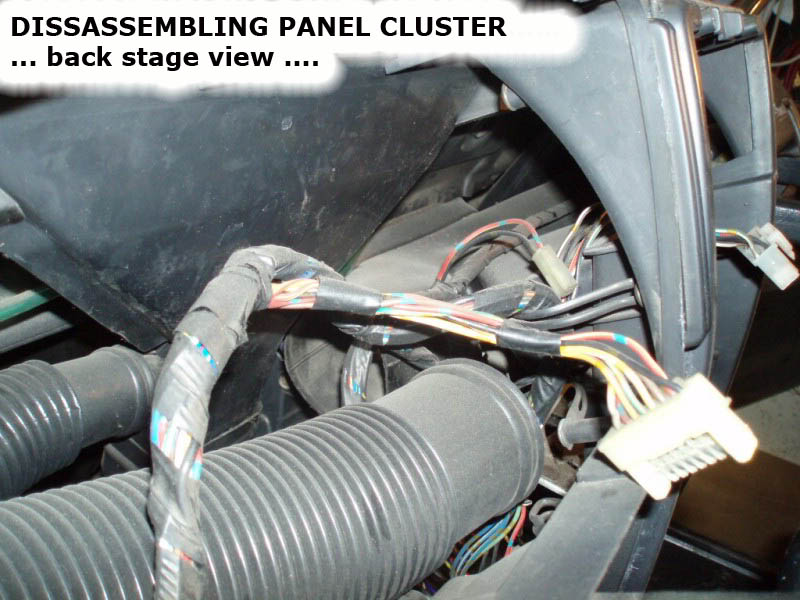
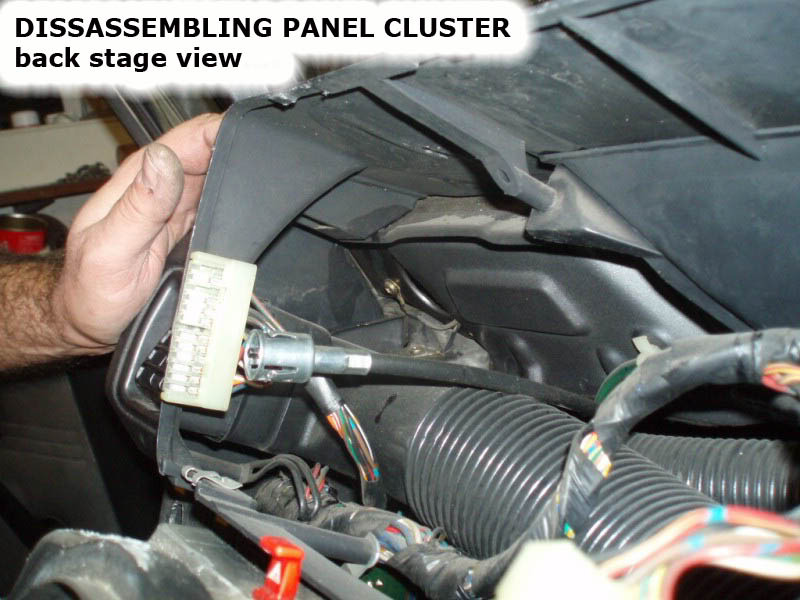
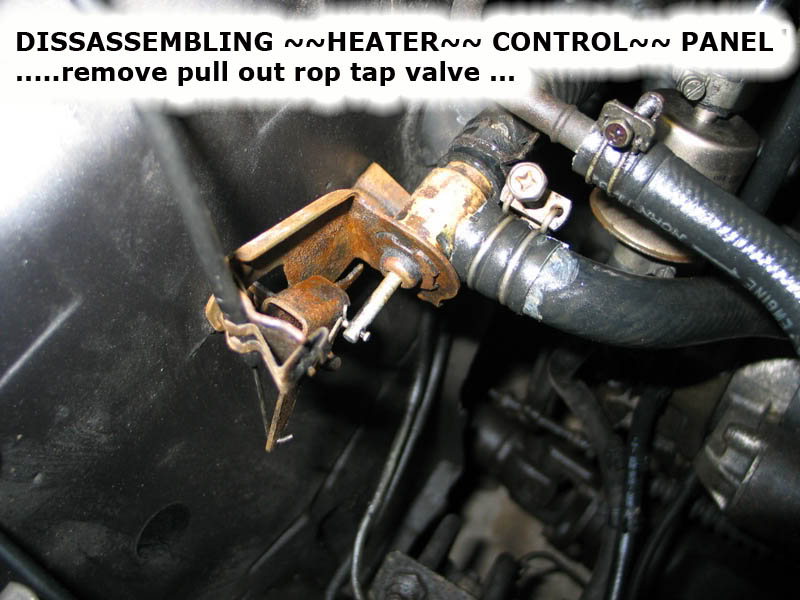
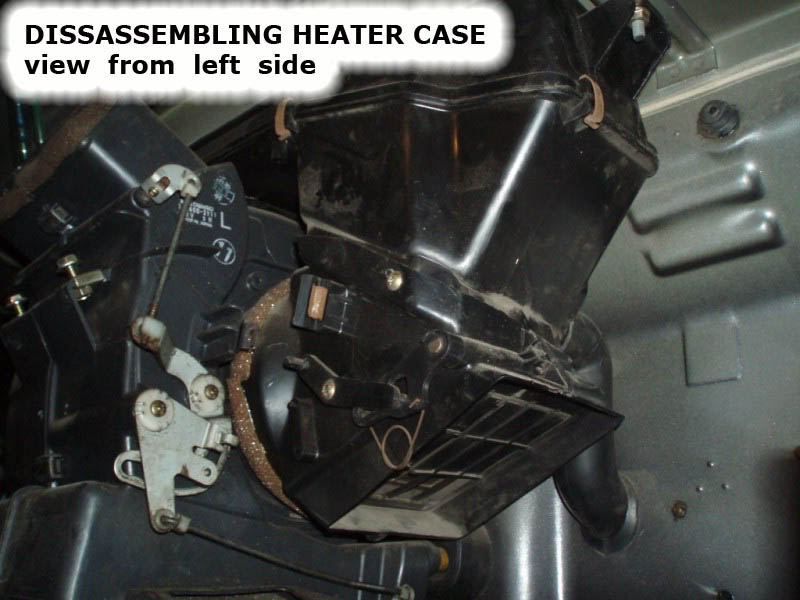
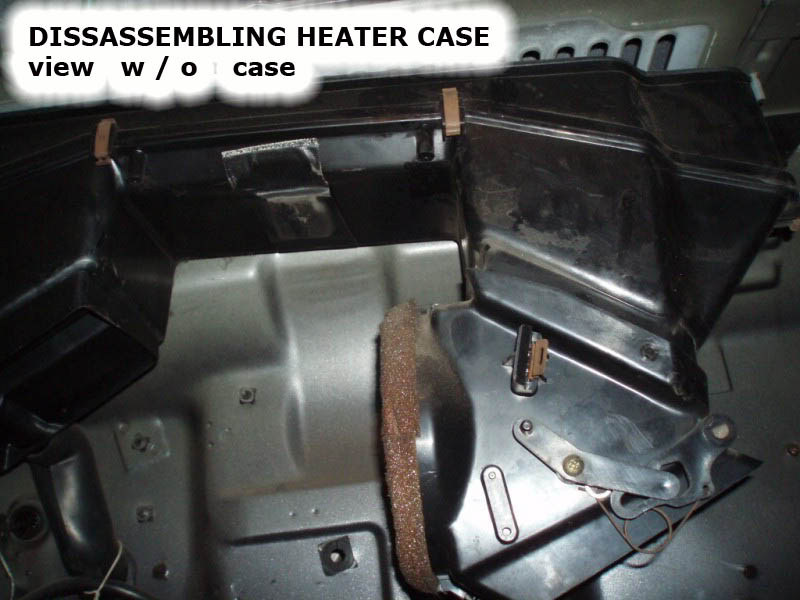
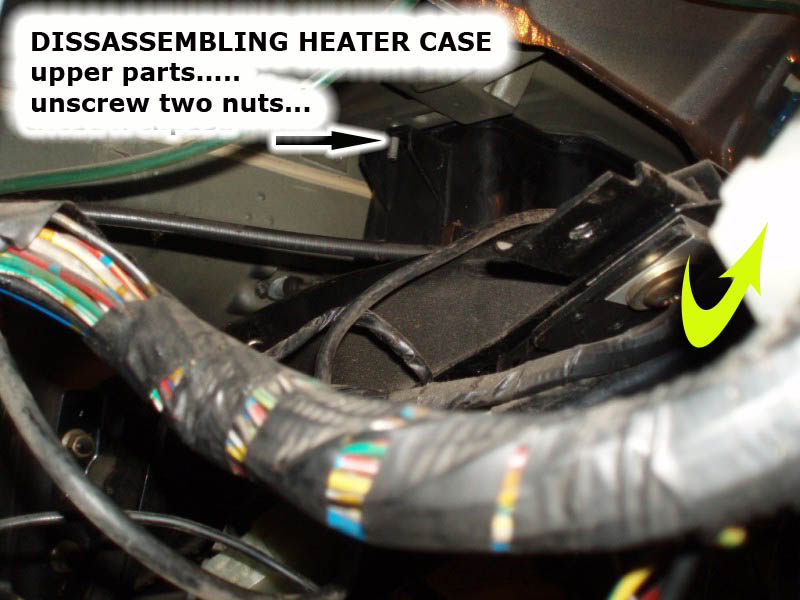
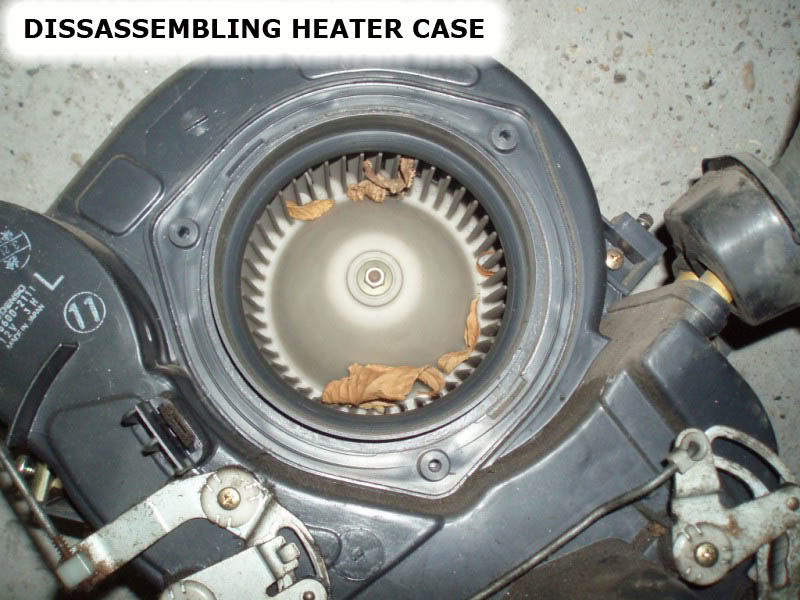
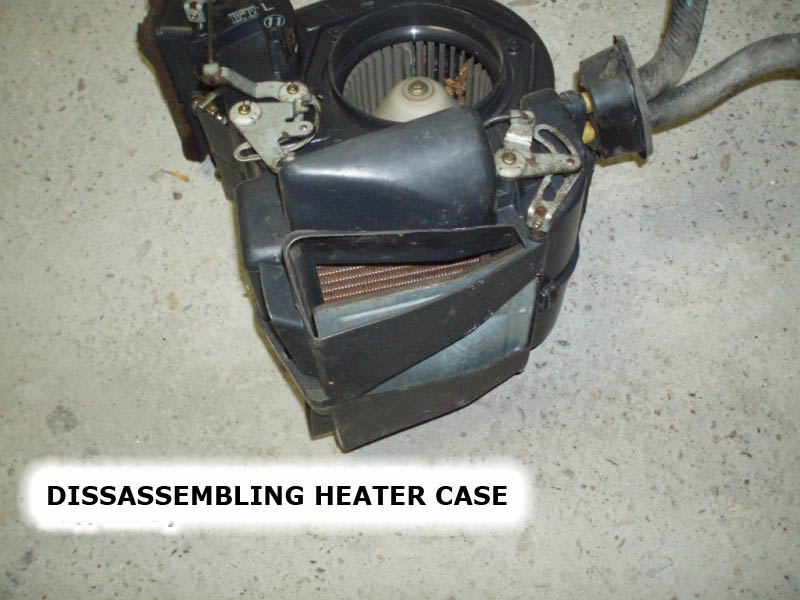
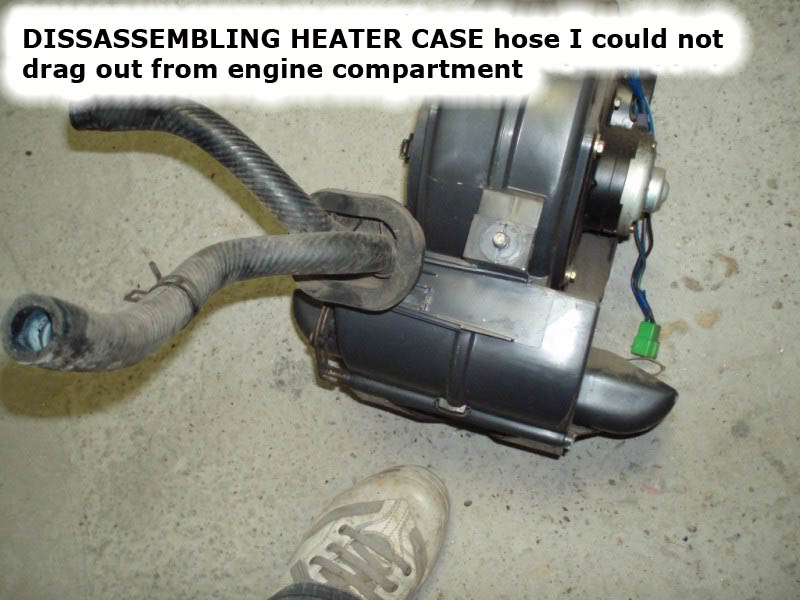
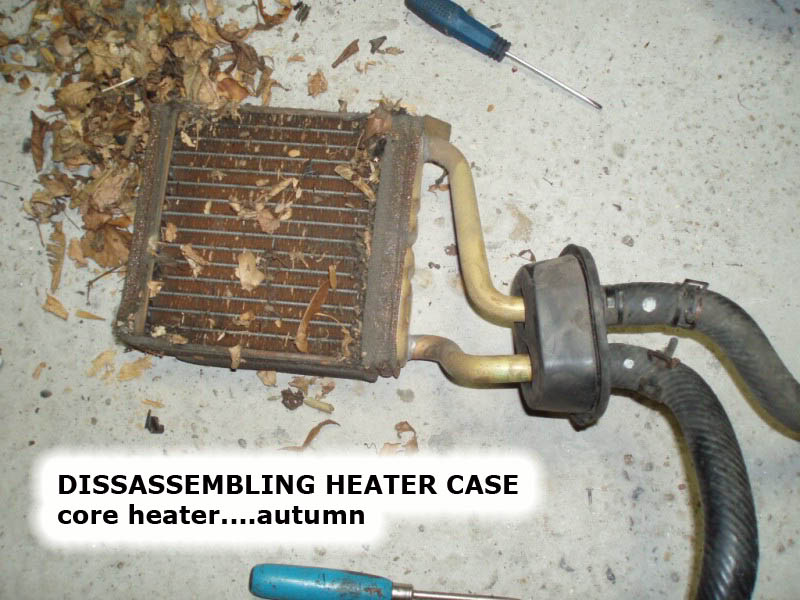
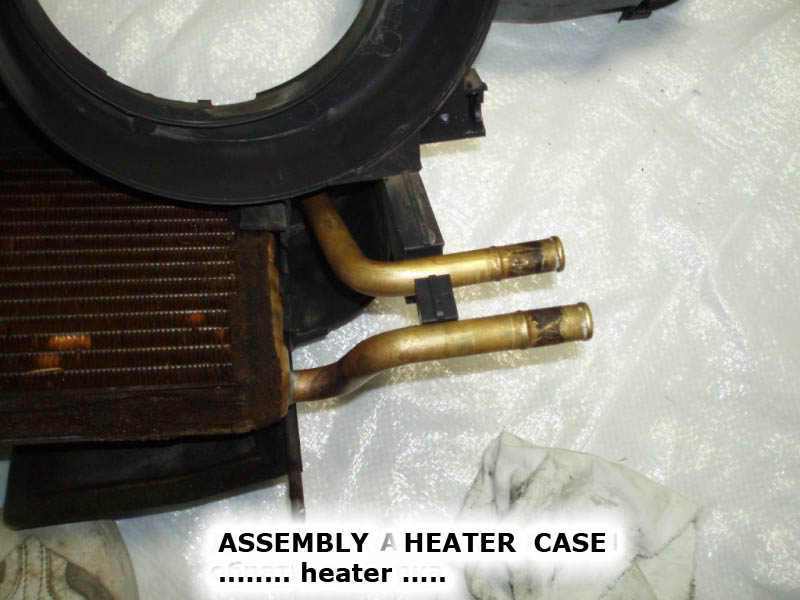
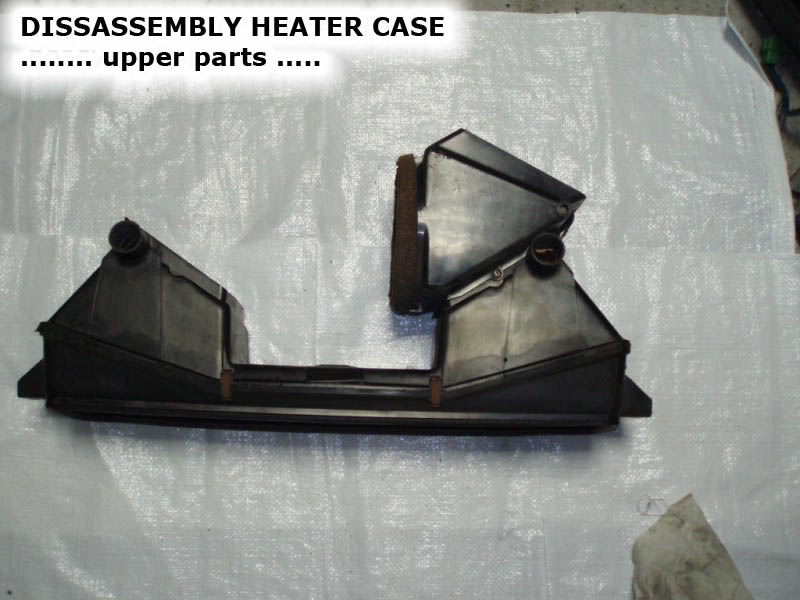
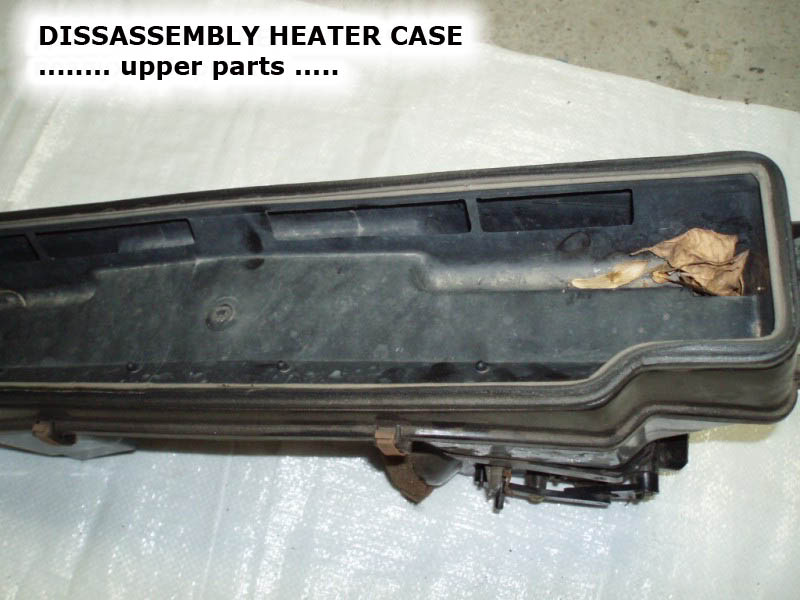
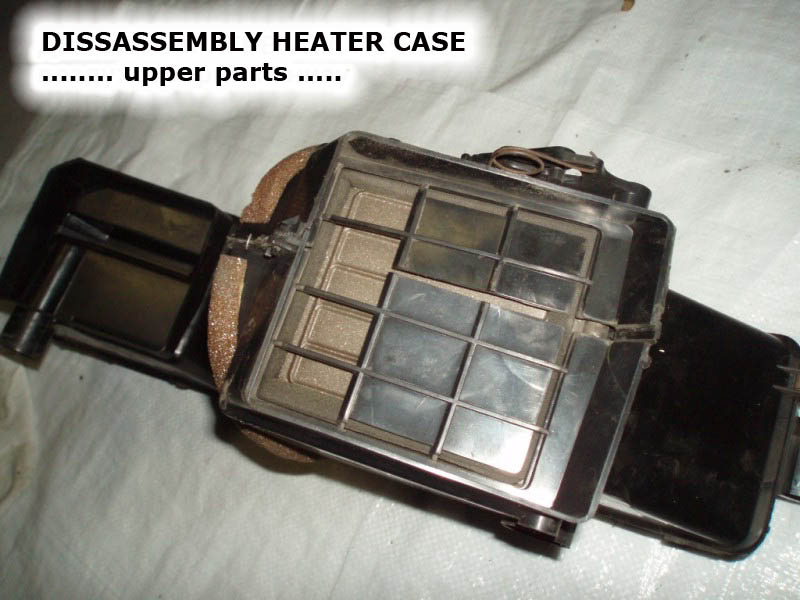
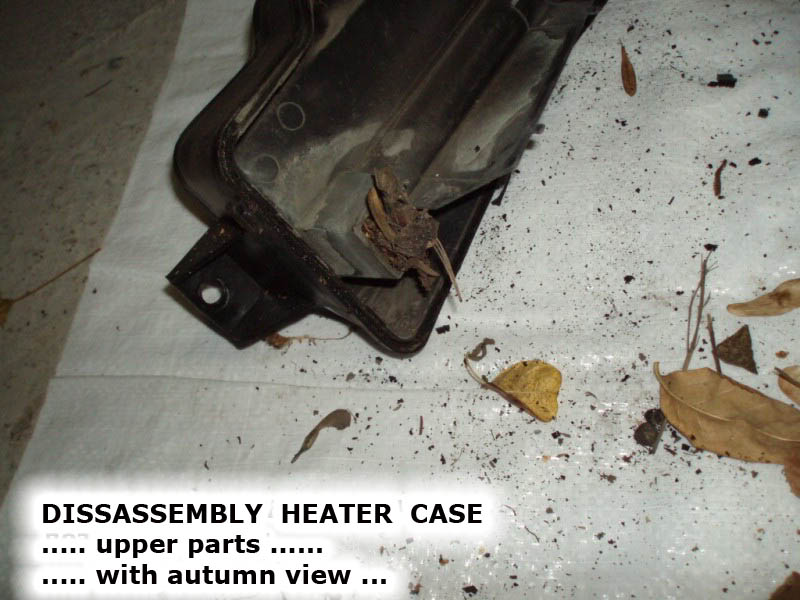
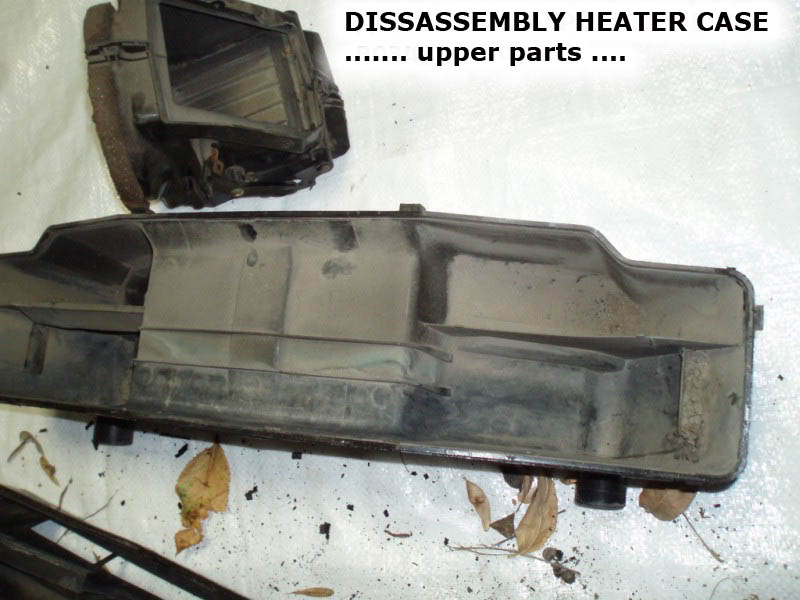
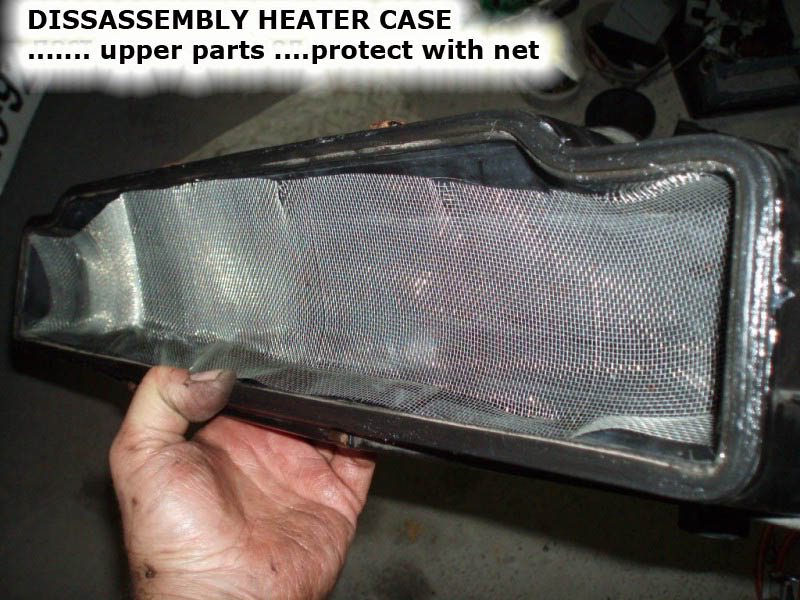
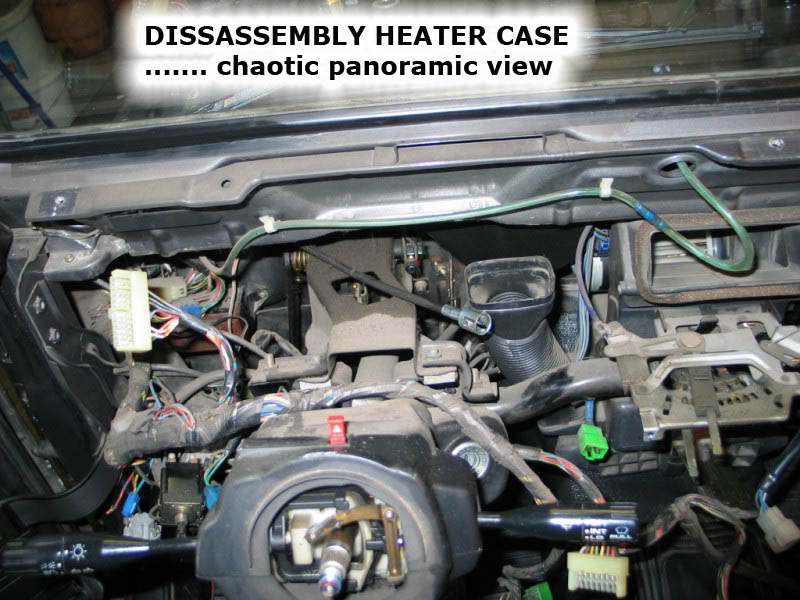
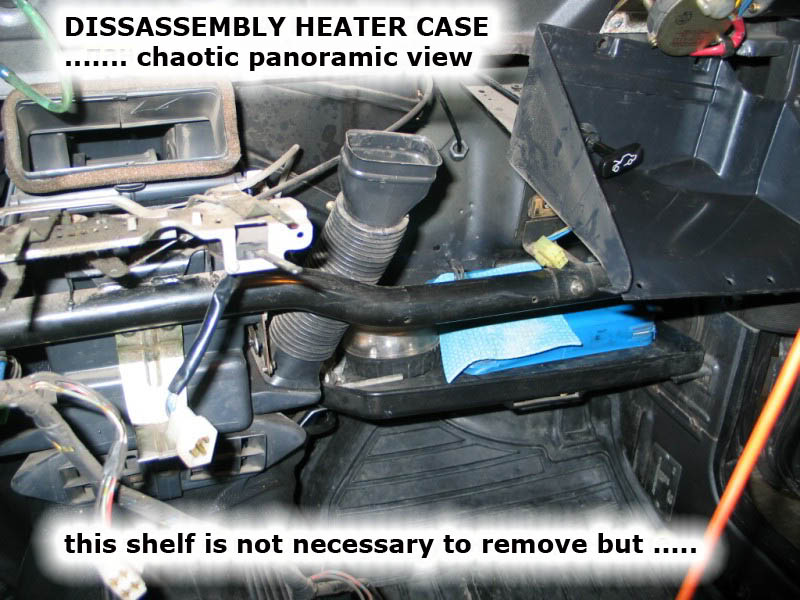
There are pics of the heater box removal and adding the screen to the cowl vent tube.
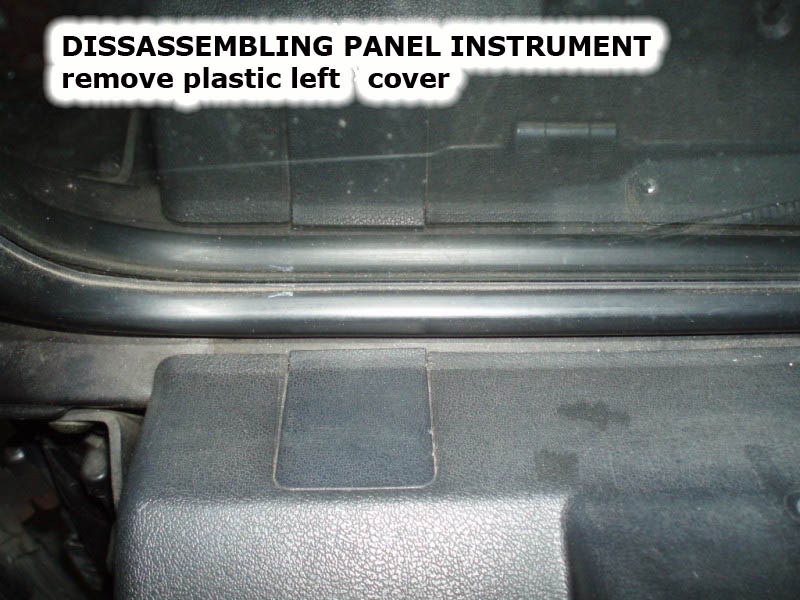
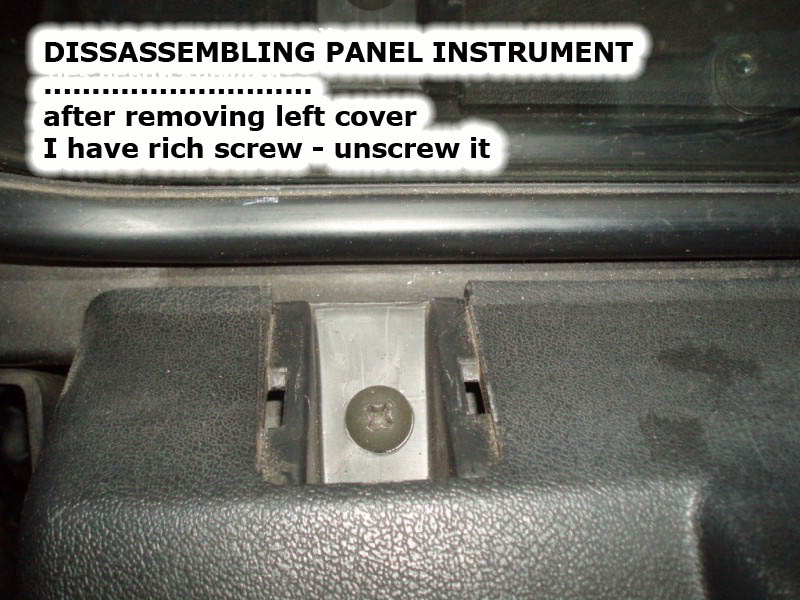
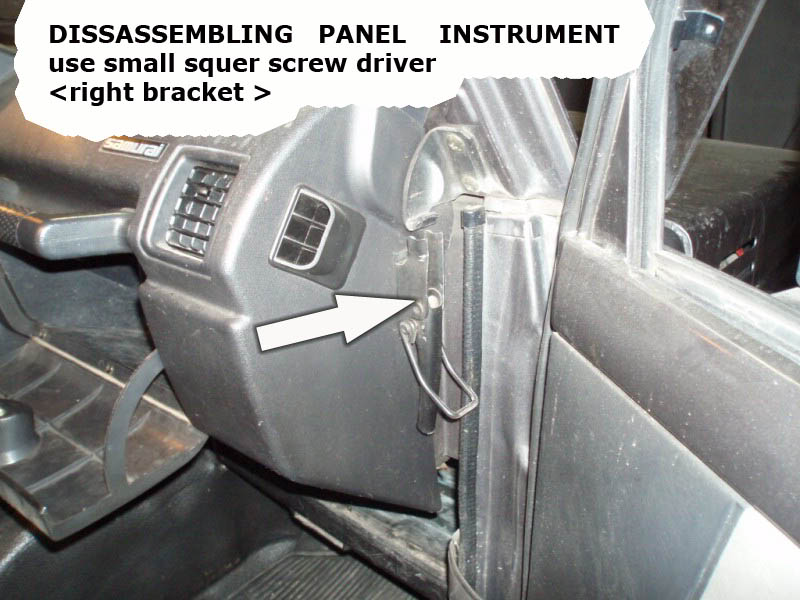
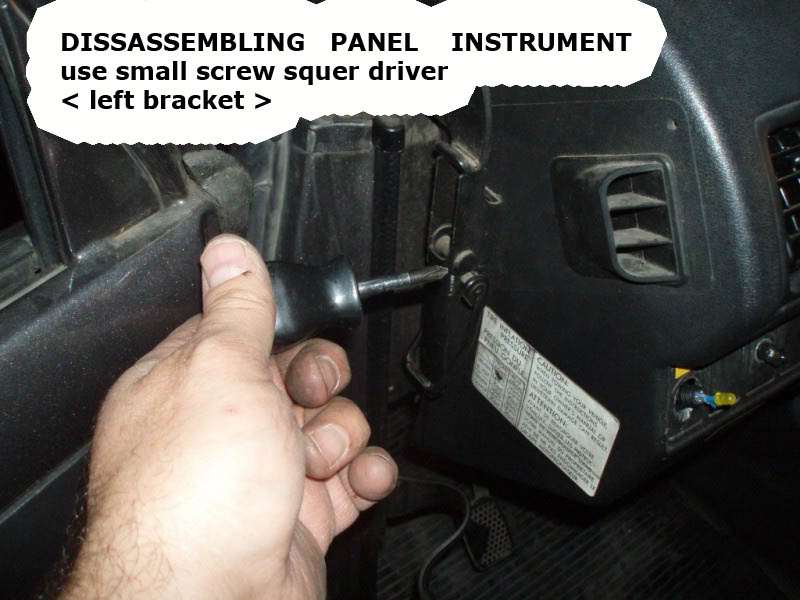
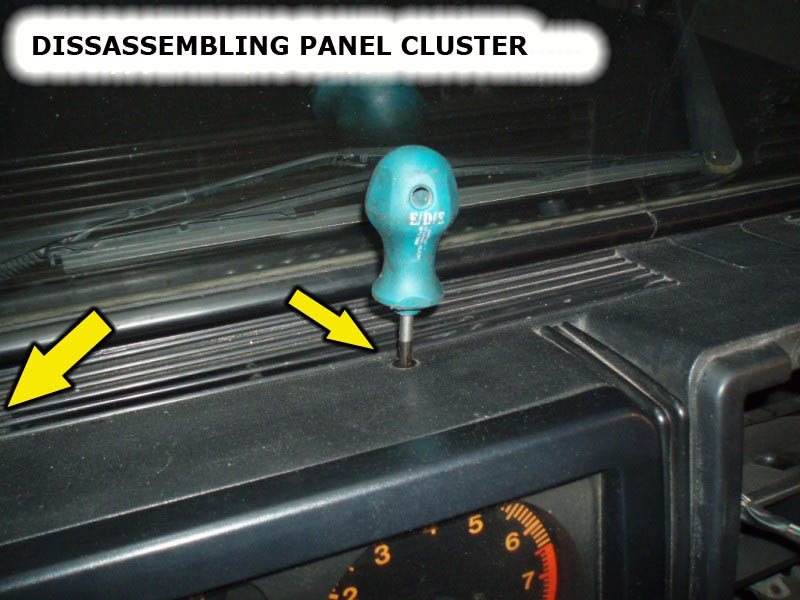
I did want to mention that I did mine with the windshield out. The screws that hold the
dash in are tough to get out. I will be replacing those with bolts in a few places for ease of
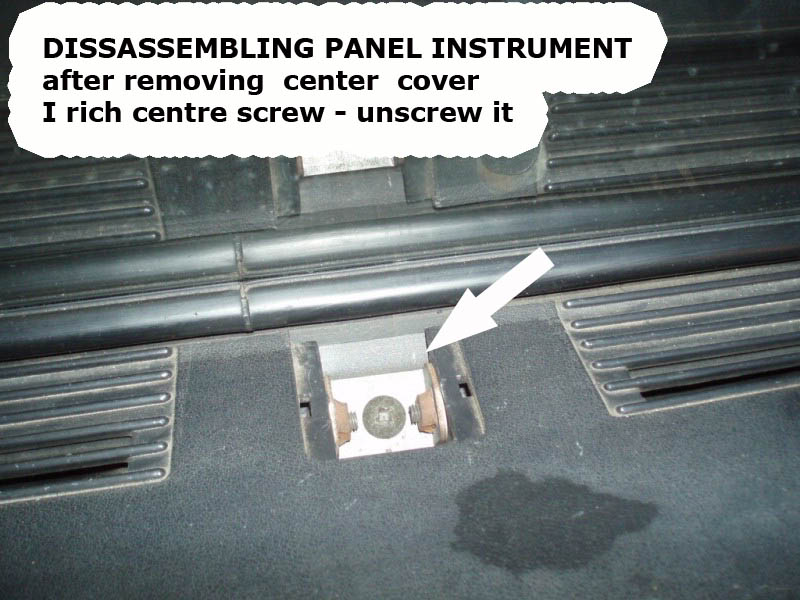
installation. Mine is the round dash but this will get you there.
Take your time
Don't force anything
Take more pics
Get plastic bags to put parts in and mark the bags.
This is only showing you how to take it apart. You will have to put it back together. So be careful not to break anything
I'm adding other things to look at while you have it out.
CAUTION: With the cowl vent tube out (LOOK UP AT THE BOTTOM OF THE VENT). You
will probably notice some surface rust. Clean the rust off use (OSPHO RUST INHIBITOR) let dry
24 hrs use (POR15) let dry 24 hrs. This will seal it and rid you of any future issues.
Before putting the cowl vent back in I used silicone on the gasket before reassemble to keep
the water from sneaking in.
******
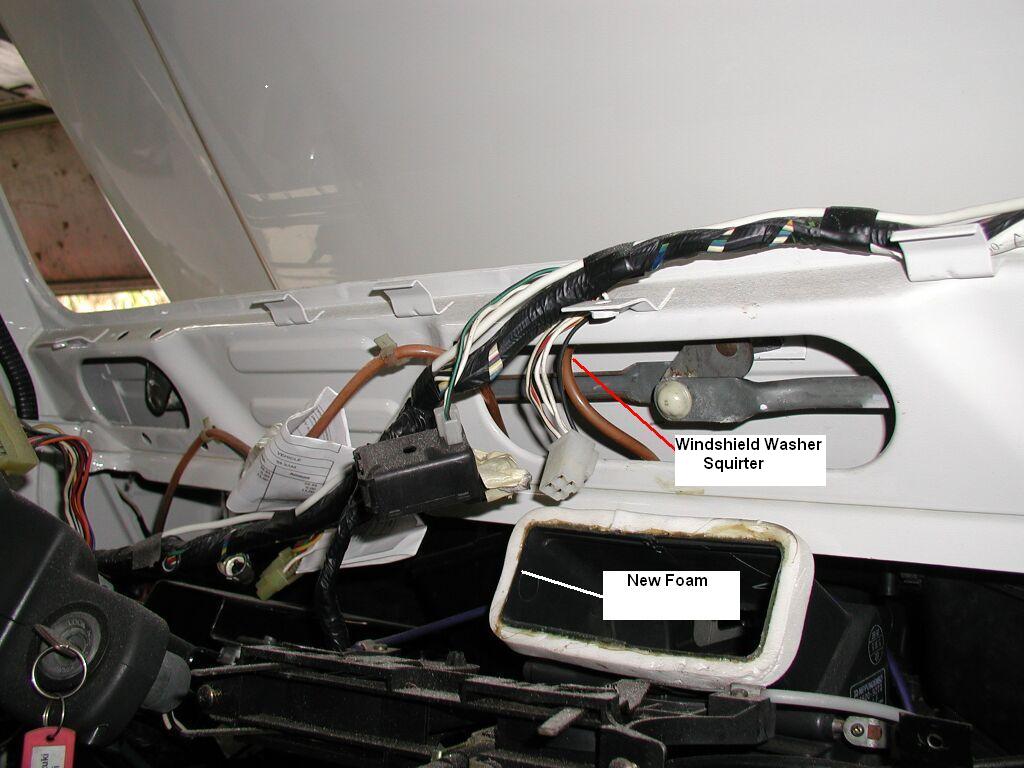
Grease the windshield wipe arms while you are there.
******


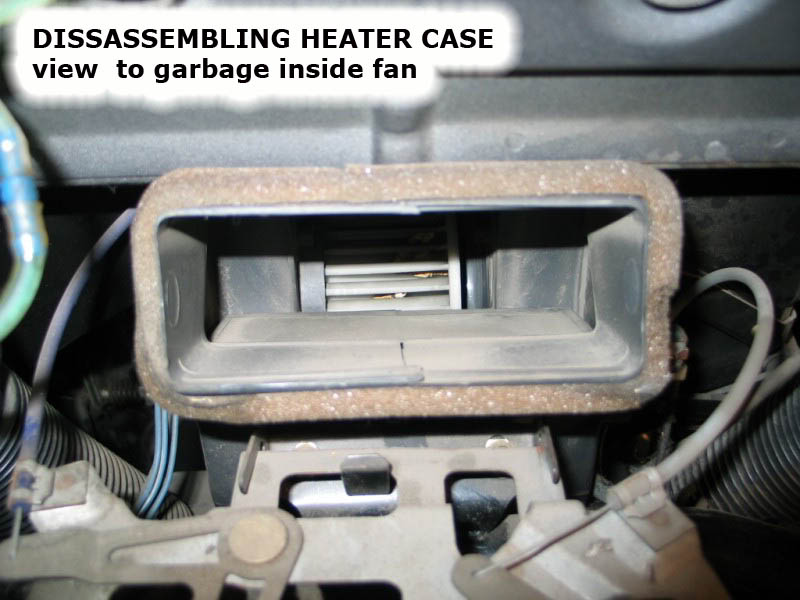
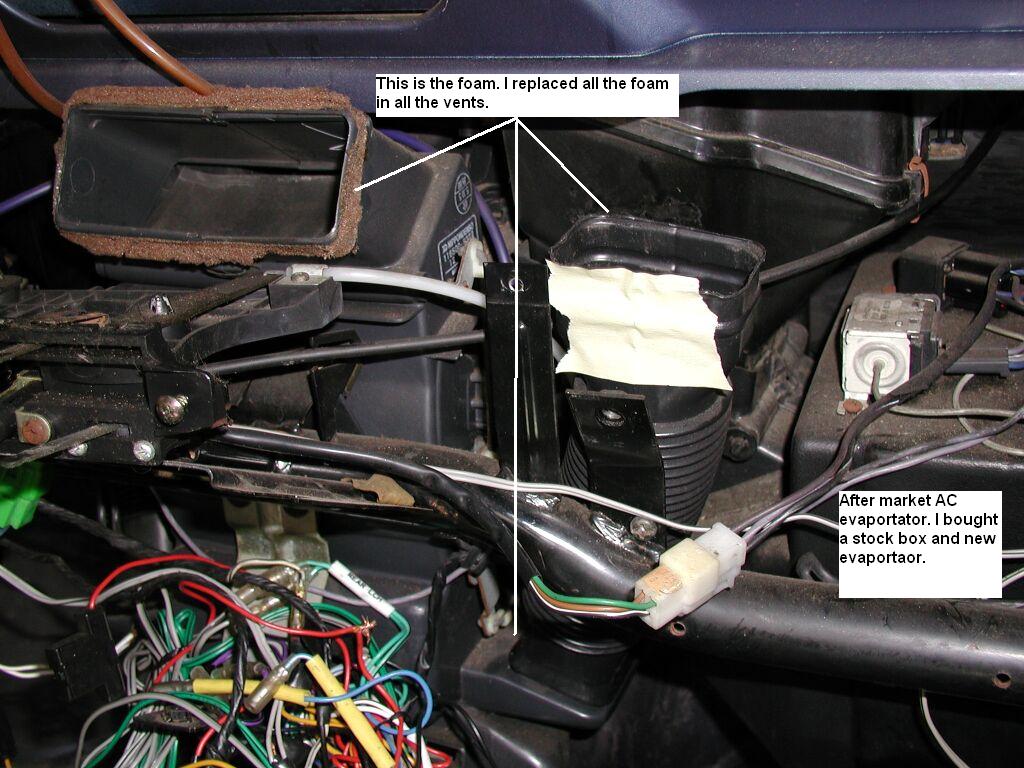
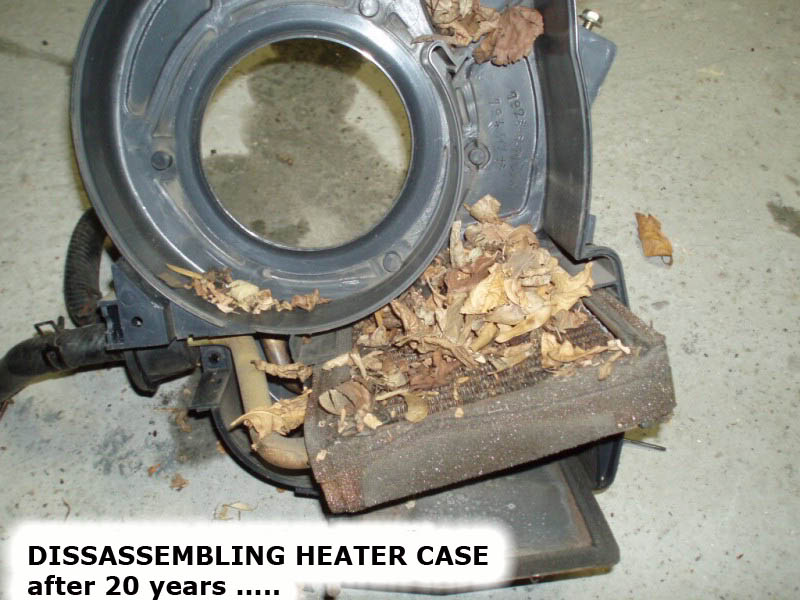
I was looking at all the deteriorated foam on the vents that are just going to leak. I found some foam
at home depot in the AC isle. They use this to stuff in the window Shakers. You really don't want to
replace it with just anything.
This is going to be much thicker then you need.
STEPS:
I cut it to Length and width that I needed.
Cut the thickness down with a razor blade.
Shaped it like a cone for a tight tapered fit.
Glue it on with a good contact cement.
***********
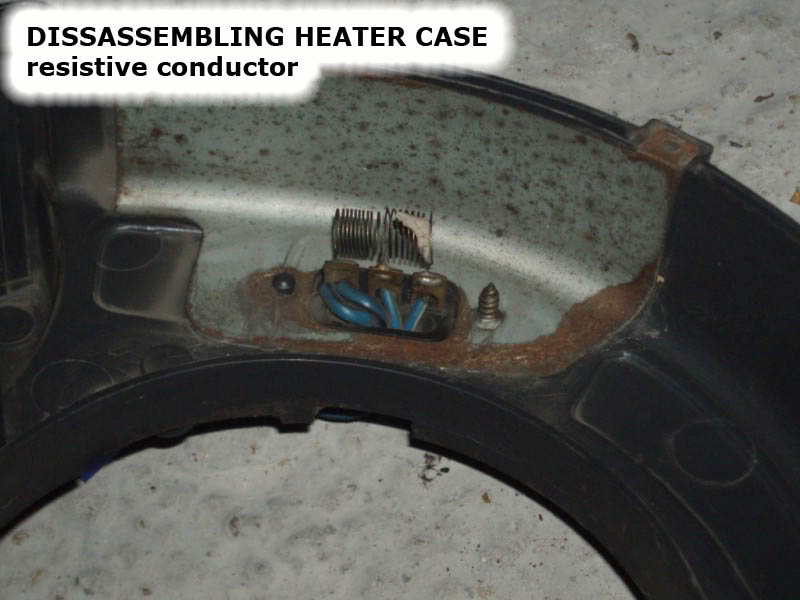
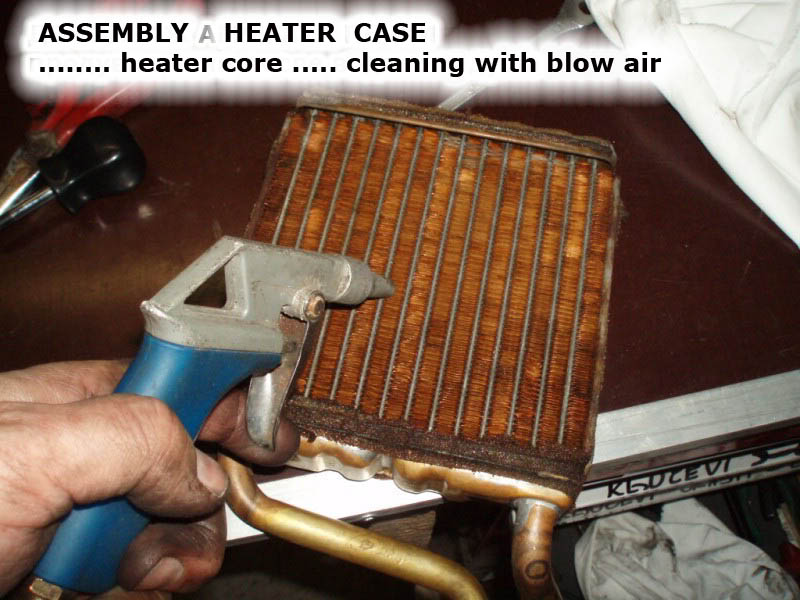
I also spent allot of time replacing all the motors switches and crappy after market AC evaporator with a stock
one and new evaporator.

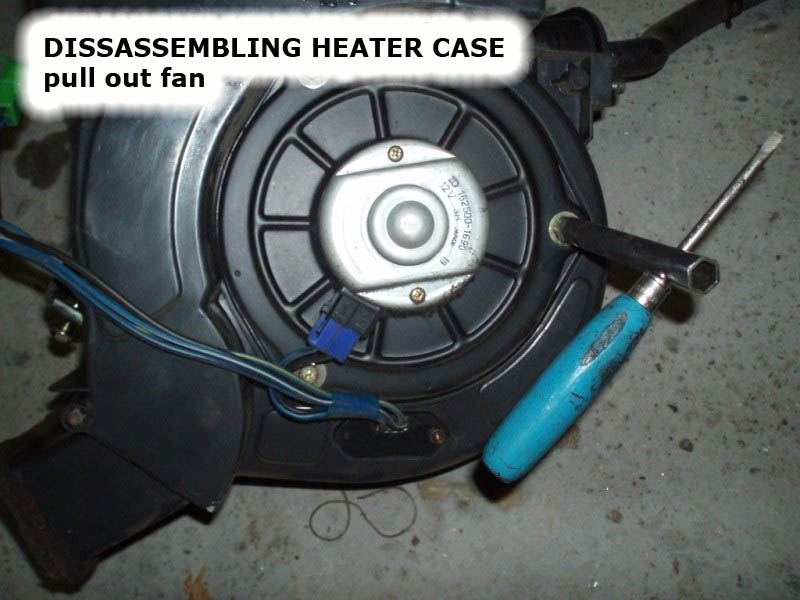
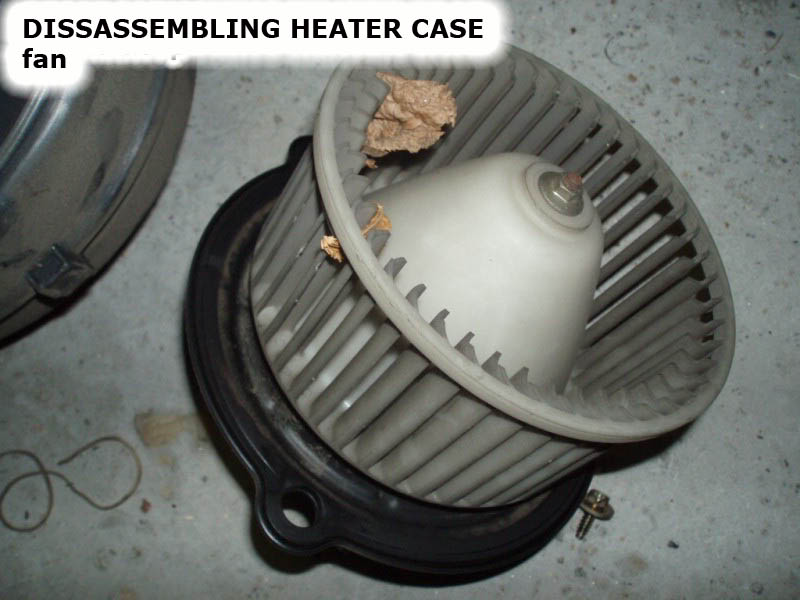
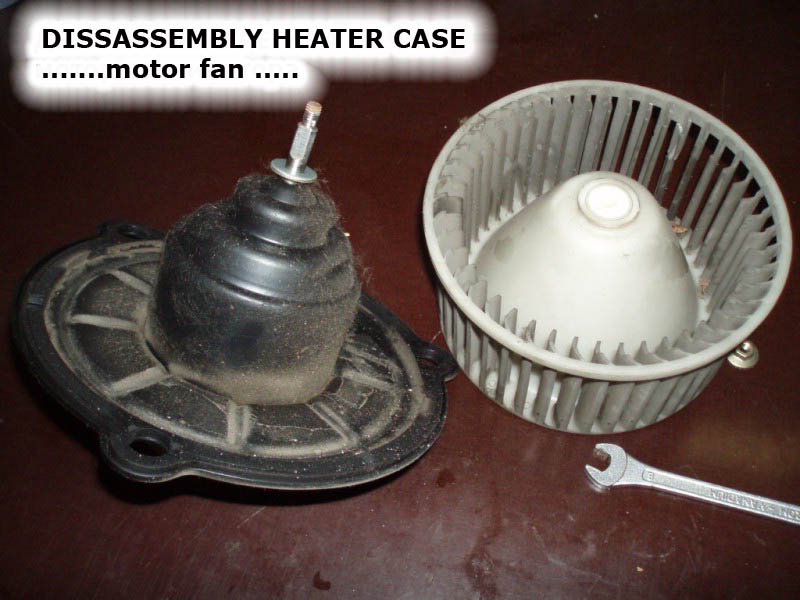
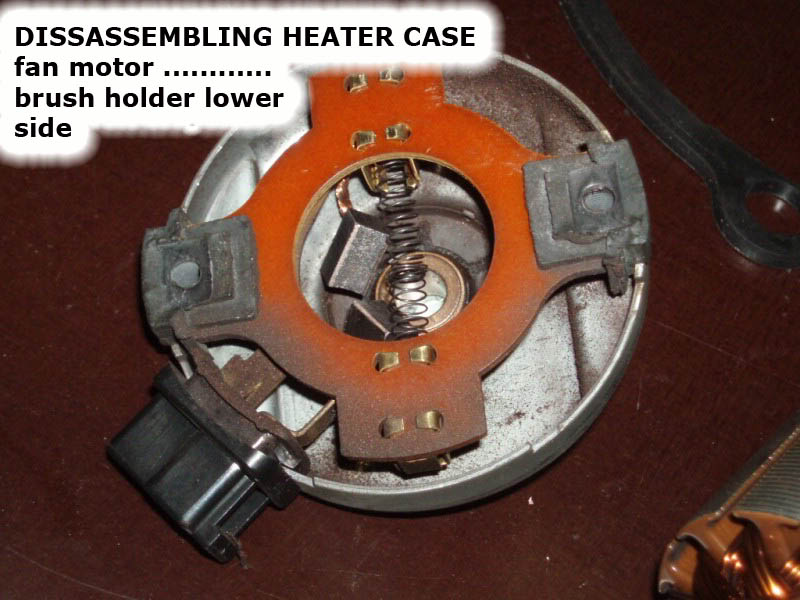
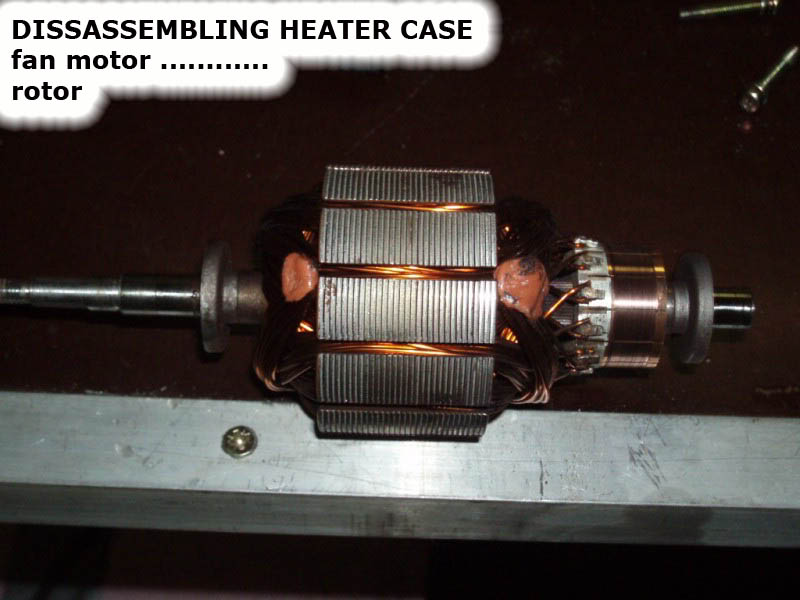
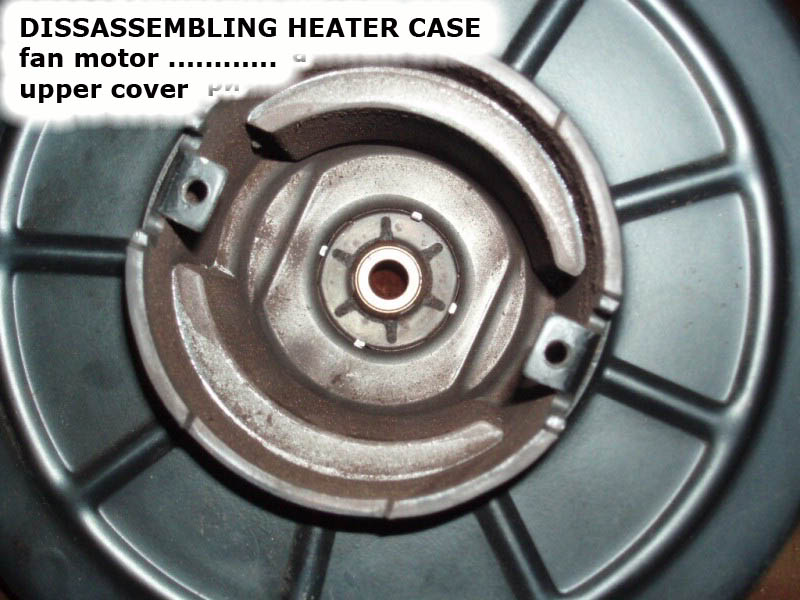
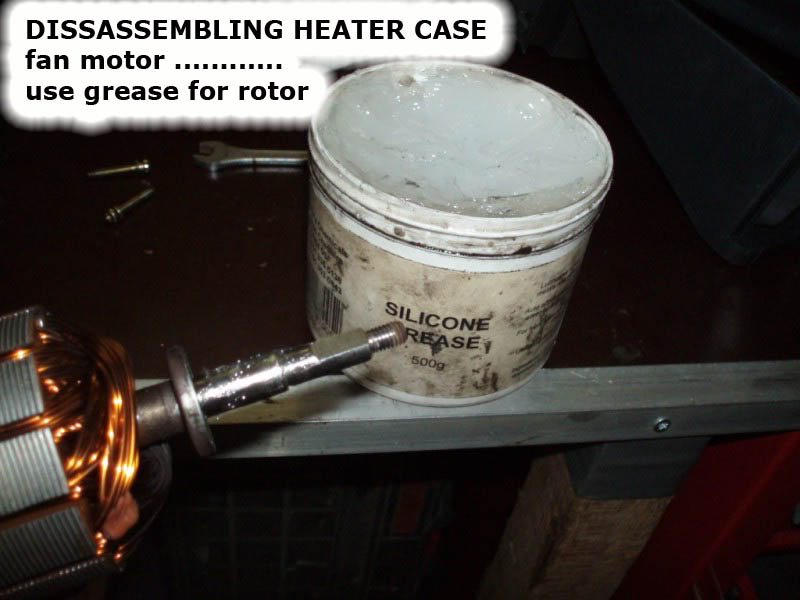
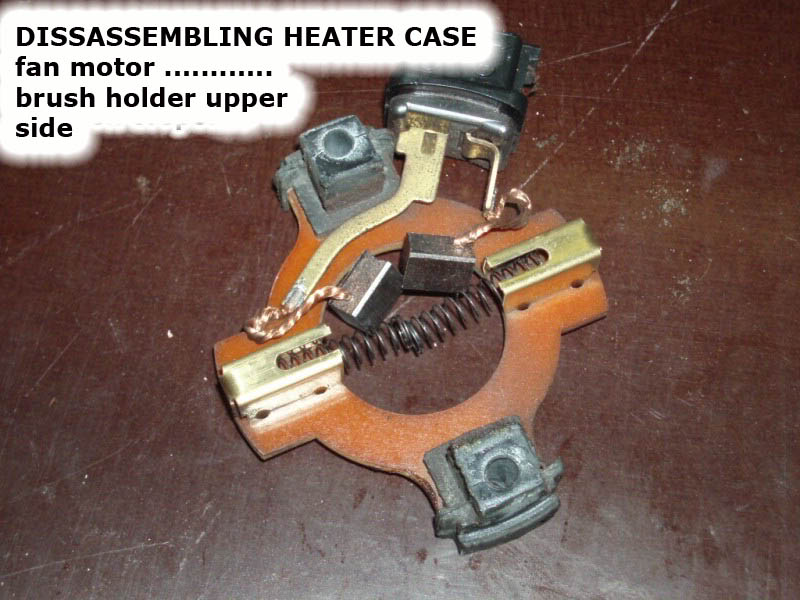
I did change my blower motor. You would think that was simple.
Just remember to to measure from the motor mounting face and the plastic
fan wheel. The new motors shaft was longer. So if you measure from the front of
the shaft down to the wheel hub.
YOU WILL BE MAD because you now have an interference fit or it will not spin when
you assemble it.
CAUTION: Be sure to make sure the motor is spinning in the correct direction. The color
code on mine was not the same as the old one. I had it backwards.
(You're going to be real mad when you have to pull the dash again).
TAKE YOUR TIME. CHECK EVERYTHING AND MAKE SURE IT WORKS!!!
Credits & links
This Article was originally written by Brbora off Zuwharrie and then additional information was added by Tan Zuk
The original thread can be found Here
and Tan Zuk's adaptions to the thread can be found Here


![0610_4wd_01z+suzuki_samurai+group_of_suzukis[1274].jpg](/images/gallery/favourites/0610_4wd_01z+suzuki_samurai+group_of_suzukis[1274].jpg)


![fenderfrt6_SJ-1[376].jpg](/images/gallery/favourites/fenderfrt6_SJ-1[376].jpg)